

Posted by Patrick Norton on 10/3/2026 to
Old Tech & Build Posts
This is the first of a series of old build threads I am hoping to save here ... just in case.
This is page 1 from the complete build thread. More to come soon.
The originals can be found on Rccrawler.com
Trail Ready H2 — Part 1: Choosing the H2 and Building the Foundation
September 24, 2009
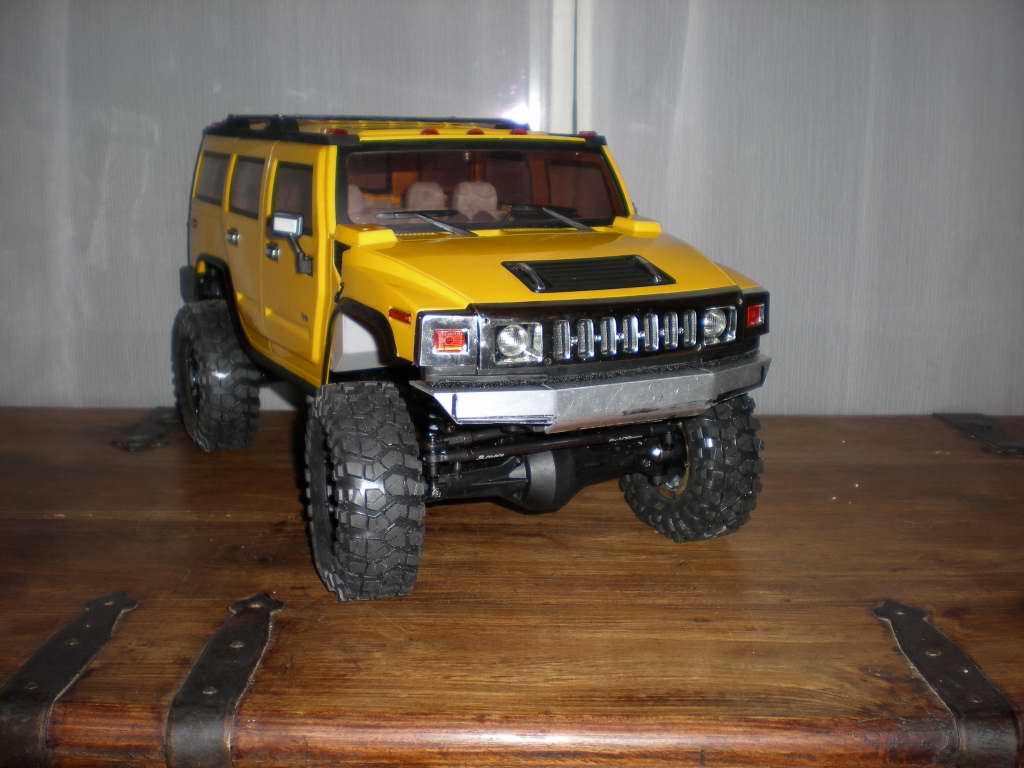
Here is my Axial SCX10 build. I'm using a hard shell H2 body and hope to make this as realistic as I can while still being pretty capable. I'll post up pictures, how to / DIY / Write-up stuff in here for you all to follow along with.So why an H2?
I actually own a TJ and had a YJ and an XJ before that. So when it comes to 1:1 wheeling I'm not a fan of H2s, I'm a Jeep guy. However, there are already some really great Jeep builds out there, so I wanted to try something different. I looked around at the usual bodies for something that is hard shell, has lights and an interior. Then I scavenged the toy stores, goodwill, ebay and still didn't see anything very promising. Then I ran across this body and it had everything I wanted. I decided to purchase a few of them (so I'd have spare parts) and build it the way an H2 should have rolled off the lot. So that is what this build will be. A reasonably street legal but very capable off road SUV.
It should be a pretty cool build when all is said and done. I hope you all enjoy it.
Initial Build-
Your Basic Put together of an SCX10:
9-9-09b
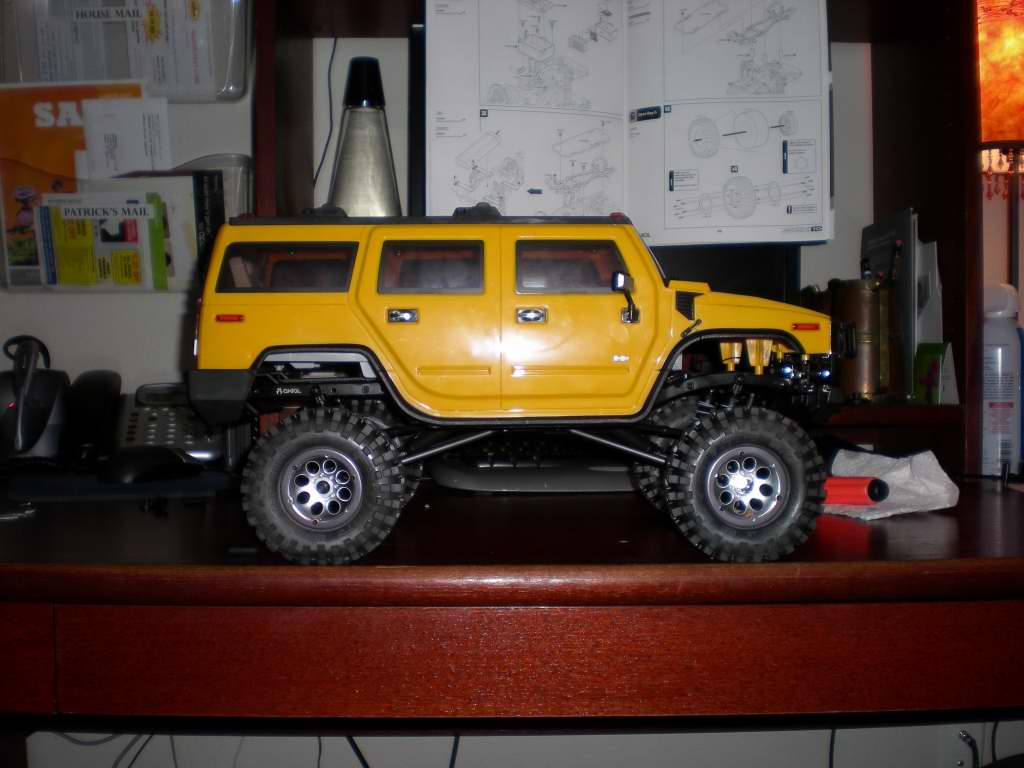
Body Mounting-
Nothing super special but I was pleased with the amount of option provided by the kit.
9-10-09
Gas Tank Mod & Playing with ring colors-
I used a torch to burn off the green if anyone else is interested in getting the same goldish color. You'll note that some of them come out darker. The longer you torch them the darker they get.
9-11-09
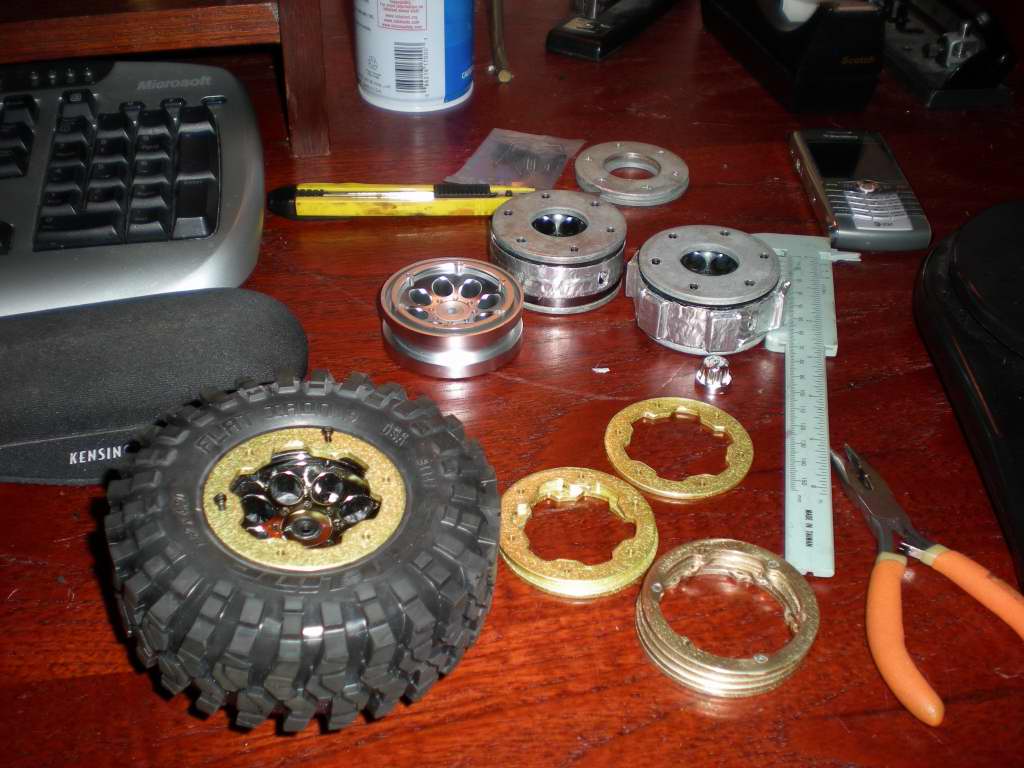
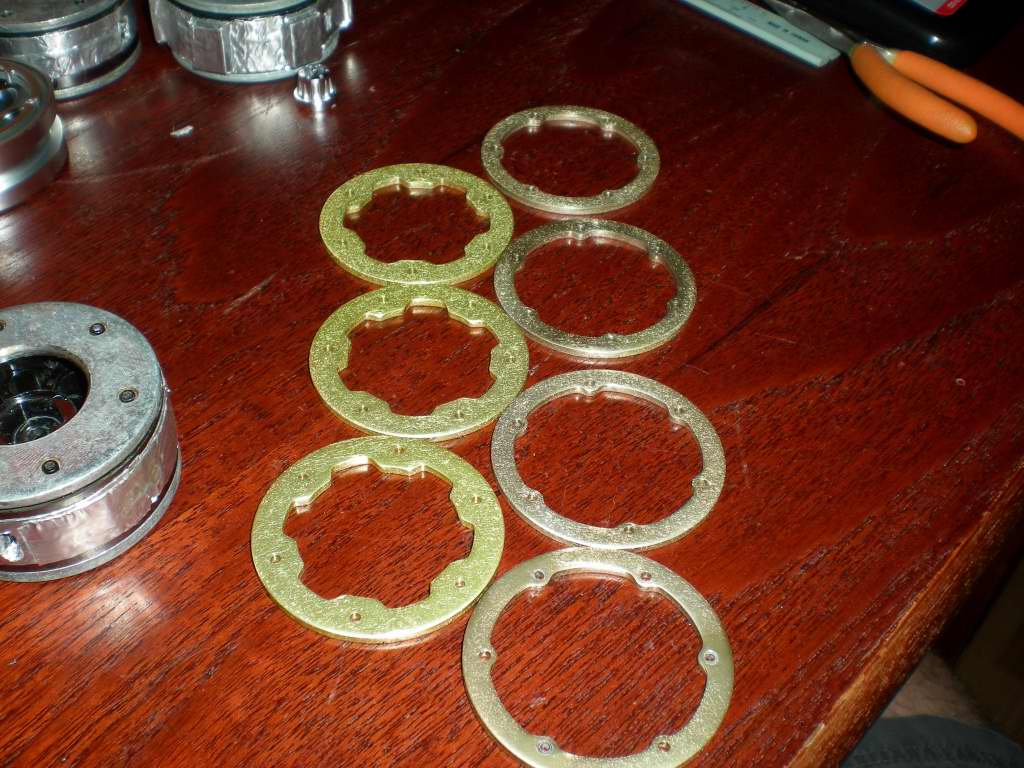
Then I decided black wheels with Black rings:
9-13-09
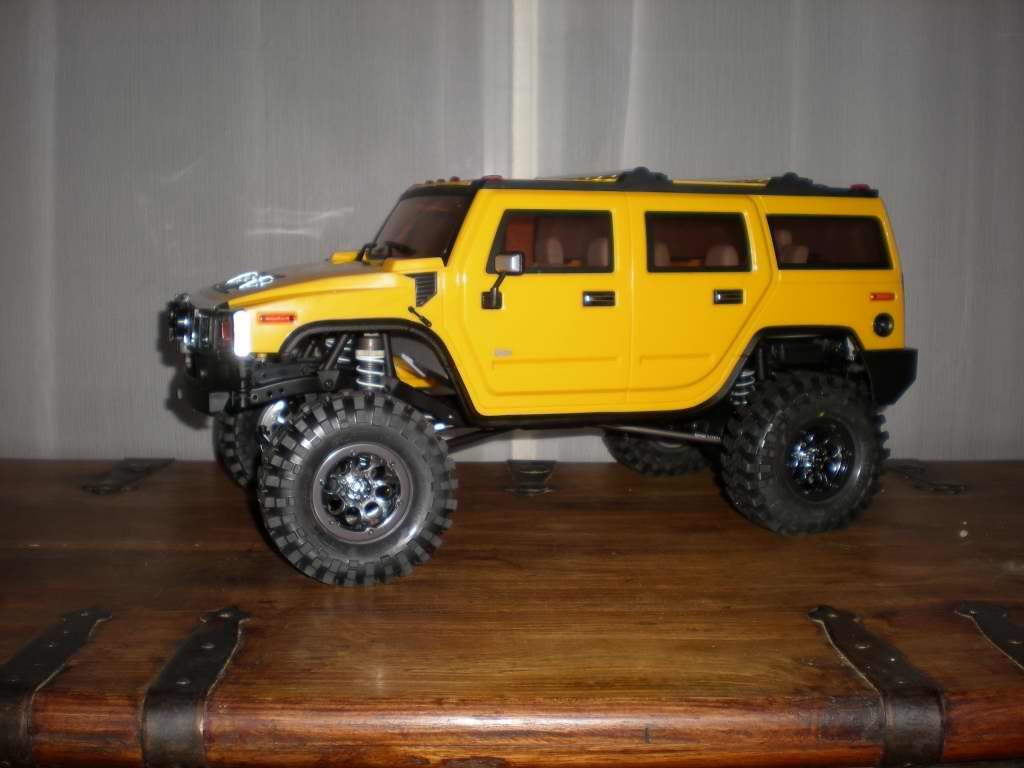
Suspension:
9-14-09
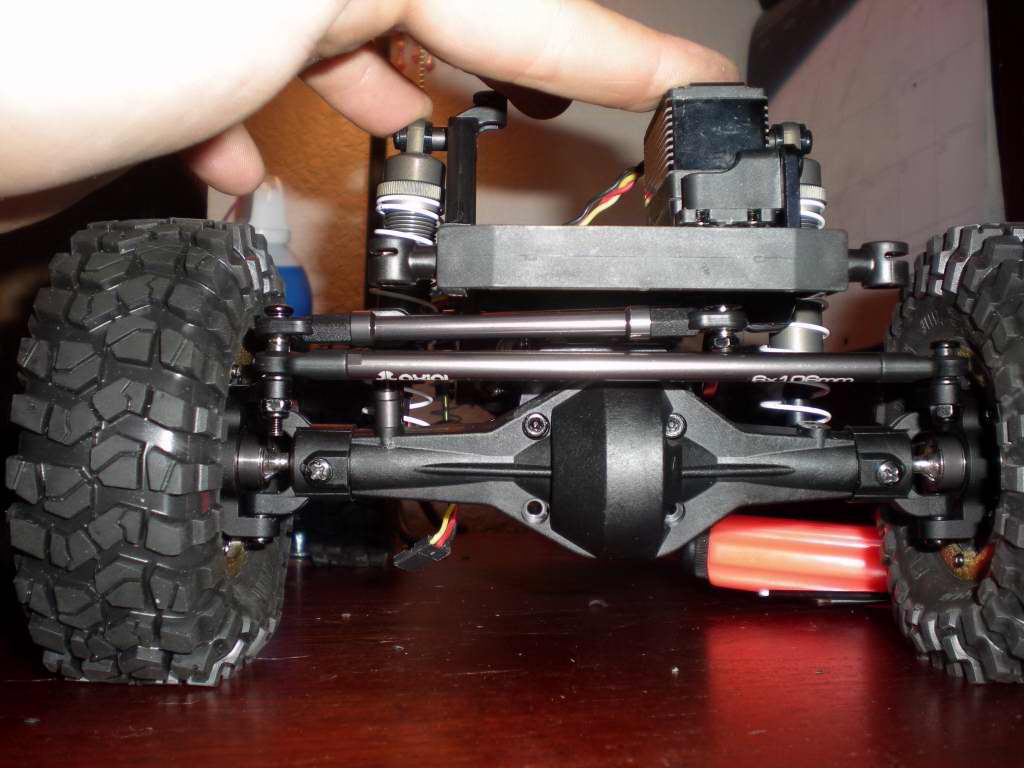
I got the hand brothers 3-link & chassis servo mount installed. It's a very well made unit and I was please as I installed it. However, because I am running the suspension "jacked up" there was a lot of bind in the steering at full droop. I could not even connect the drag link to the pitman, uh ...servo arm.
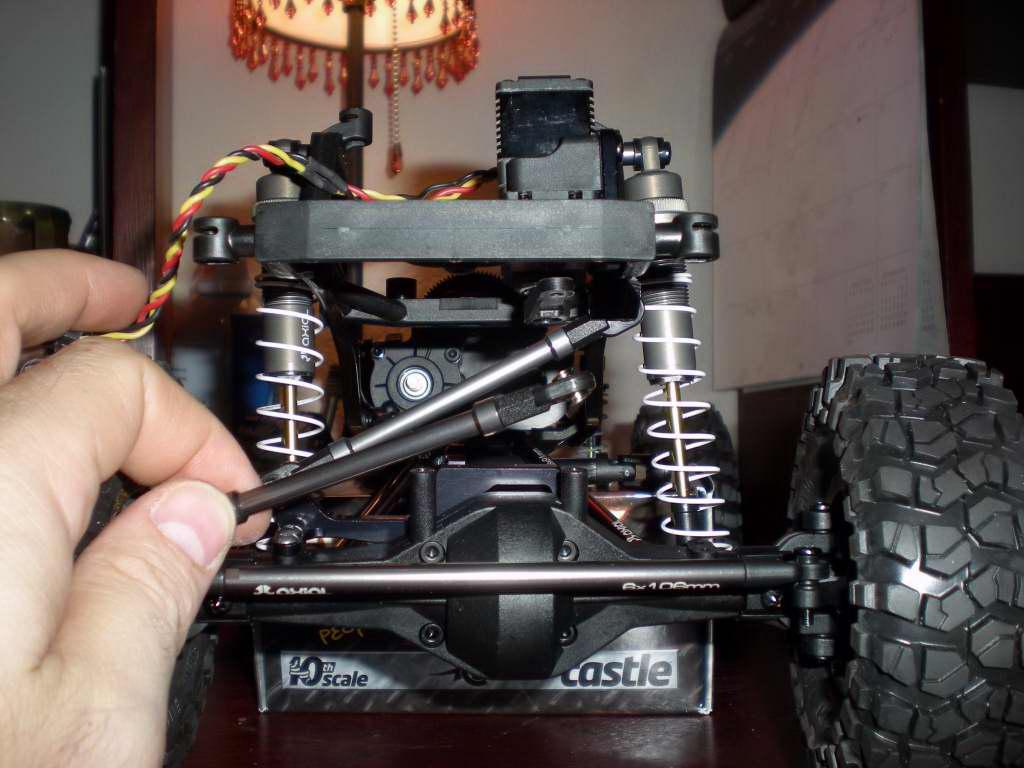
I also noticed that because I was running so high there was a lot of arc in the trackbar moving the axle to the driverside with droop and to the pass side under compression.
Full droop:
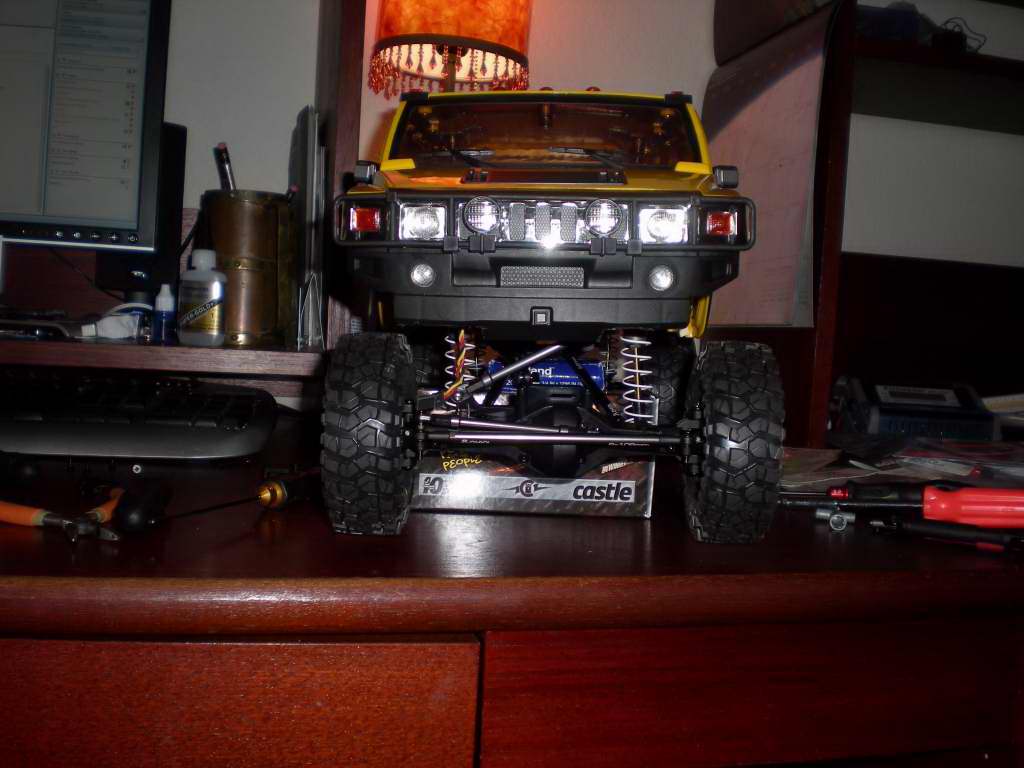
So I had two problems with the geometry. While playing around with everything I also noticed that the trackbar & draglink didn't seem to be on the same plane. It seemed like the axle end of the draglink needed to come up a bit to get them even ... at least on my truck.
So I decided to raise up the steering and lucky for me I carry spare everything from my comp rig, so a set of Vanquish high steer knuckles went in next. But then I knew I'd have bump steer, so I had to address the trackbar. I could not think of a good way to lower the frame end so I decided to raise the axle end. I'm sure there are a ton of ways to do this but this is what I decided on. I felt like the trackbar only needed to come up 8mm as opposed to the 14mm rise I'd get from the knuckles. But how to raise the trackbar mount? This required me to cut the Hand Bros. bracket in half. No pics yet but you'll get the idea.
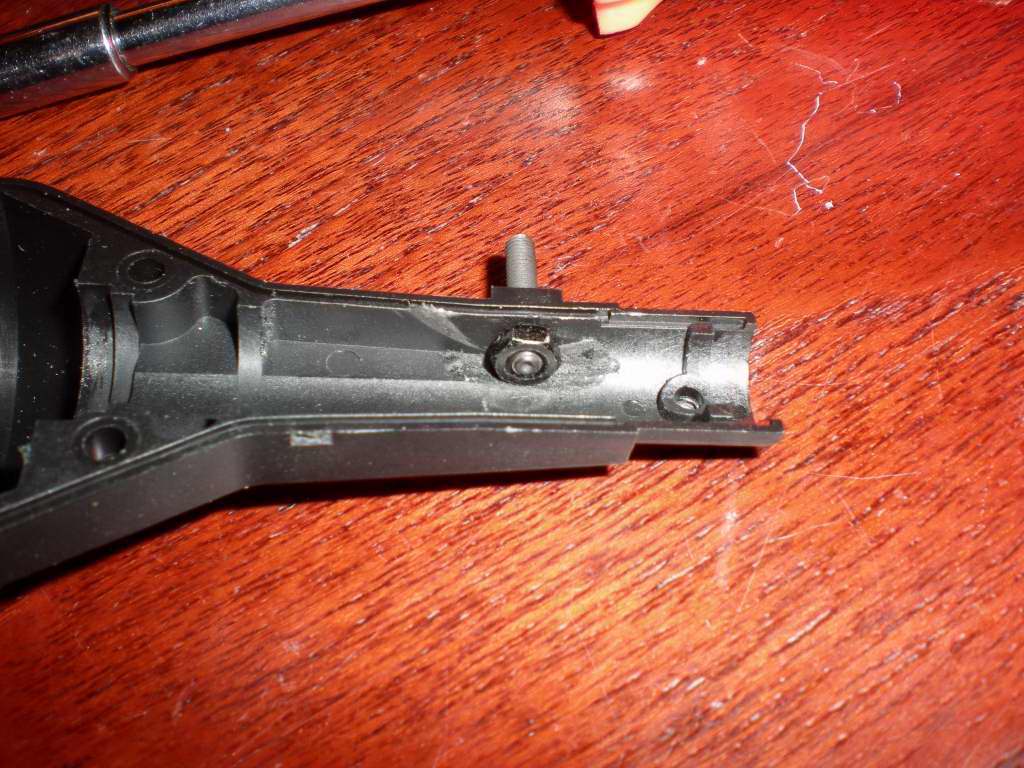
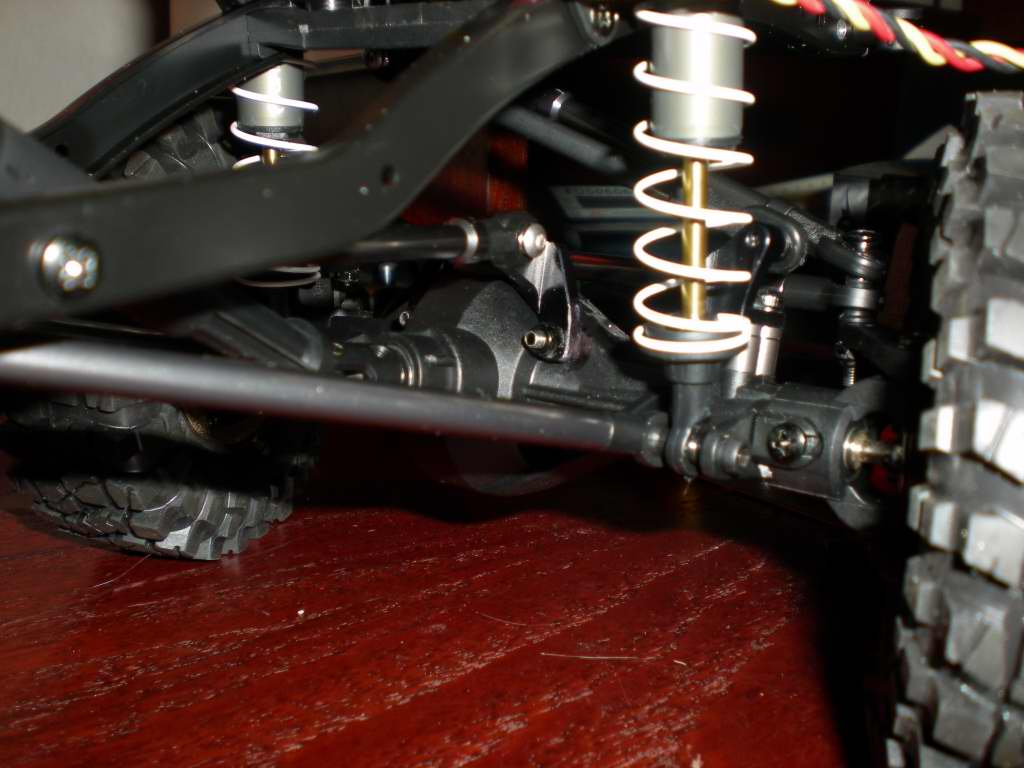
I cut the part that connects to the diff away from the part that connects to the outer housing/trackbar. The part that goes to the diff I used longer screws and locknuts to add strength when remounted. For the part that attaches to the trackbar and outer housing I did a little dremel work on the inside of the housing so I could fit a nut in there for extra strength. I tried using a grub screw (I was gonna just glue it all in there) but I don't have grub screws long enough to allow me to add the spacer I wanted. Here is the first attempt:
Unfortunately, the next pic sucks but you will see I used a cap head screw, 8mm worth of spacers all down into the housing (front half) and have a nut inside the housing. Use lock-tite liberally on that inner nut.
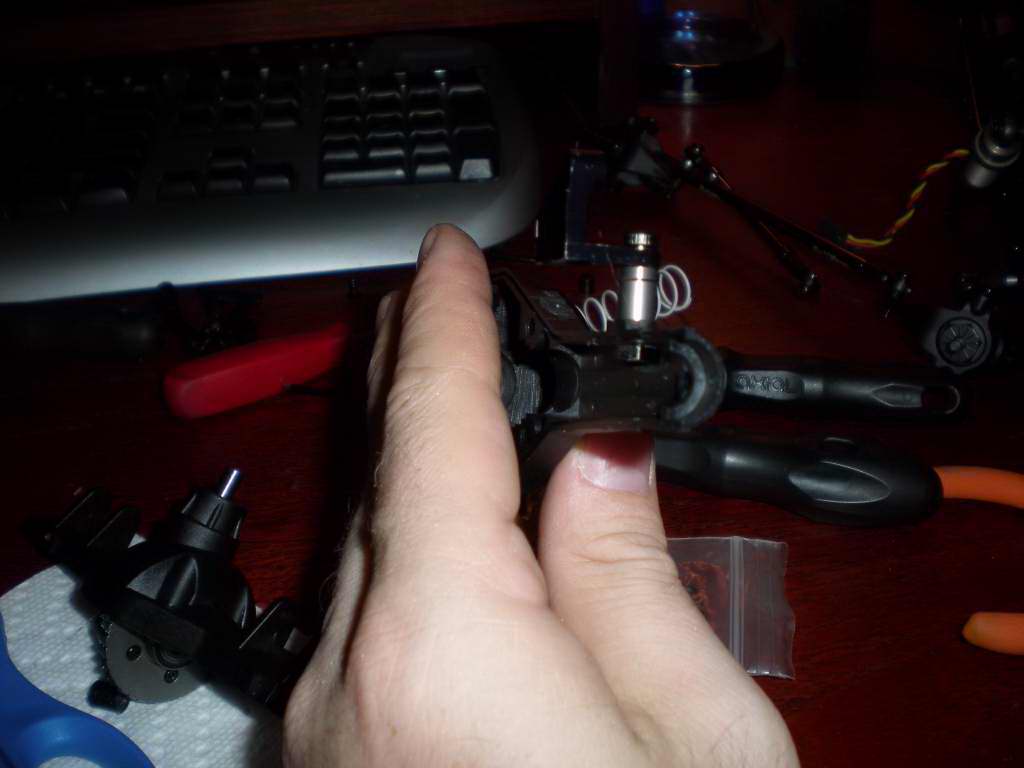
Here you can see the two axle halves together. I think with the nut inside it will be plenty strong. Since I had it apart anyway I slapped in some CVDs.
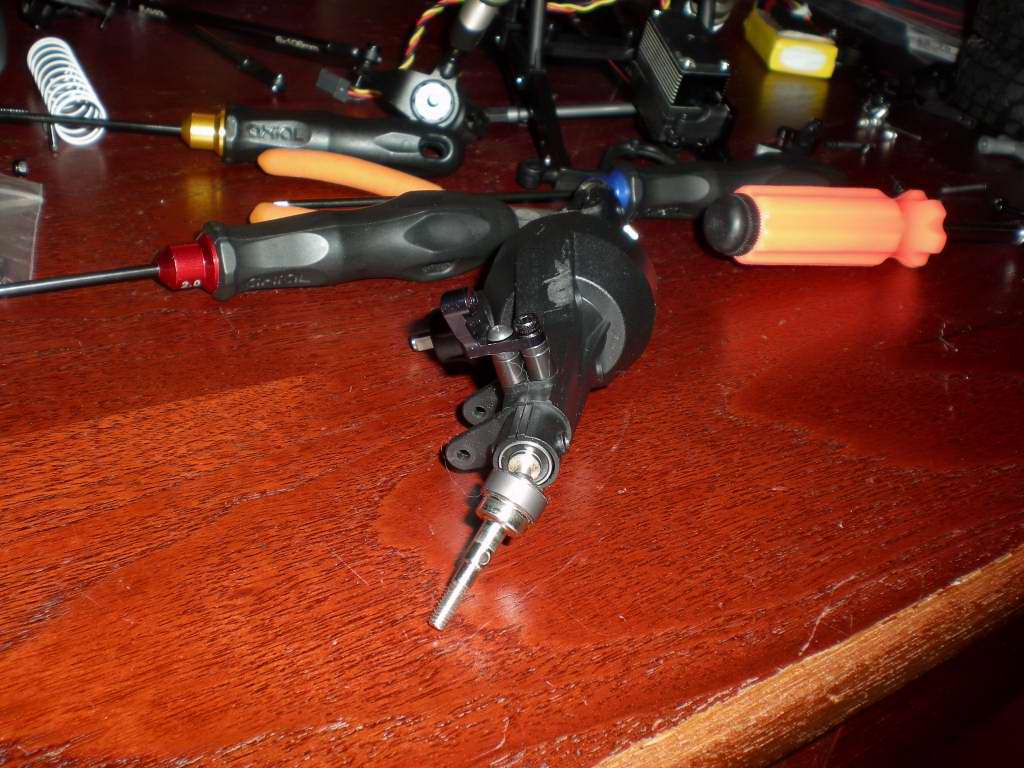
I ended up removing the little spacer between the steering linkage. Another option would have been to raise the trackbar another 2mm but I think this allows for more compression.
Anyway, the result is perfect.
Perfect alignment under compression and droop. I couldn't be happier...
Droop:
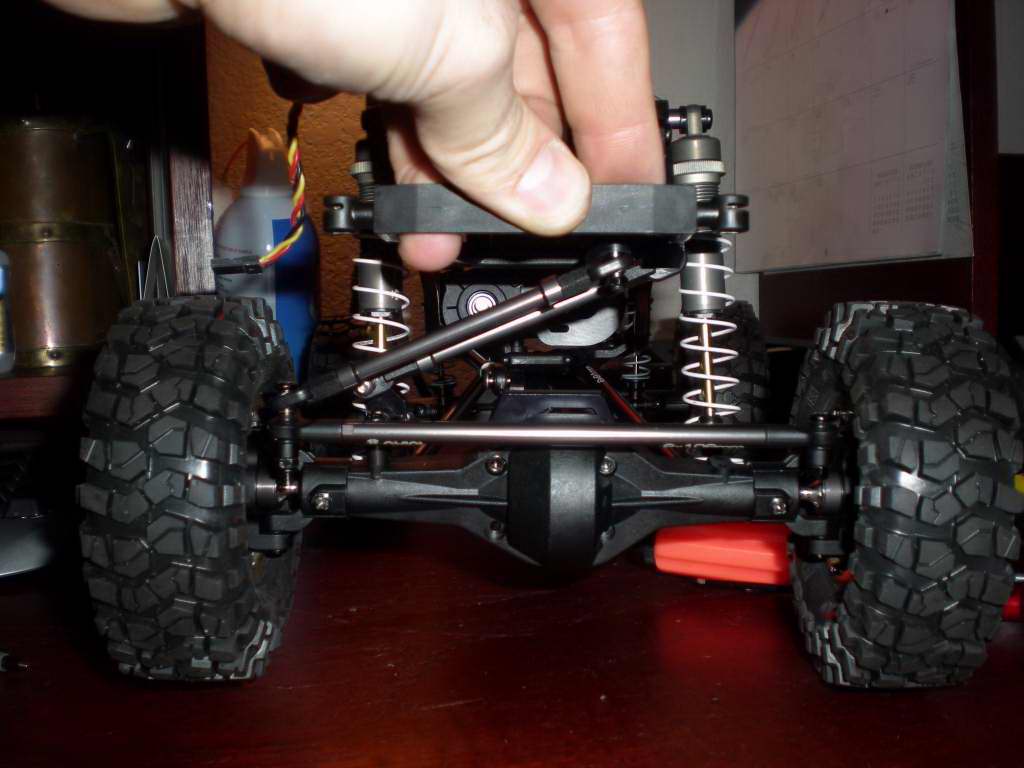
Compressed:
Here is a shot so you can see how I cut the bracket:
Woohoo!
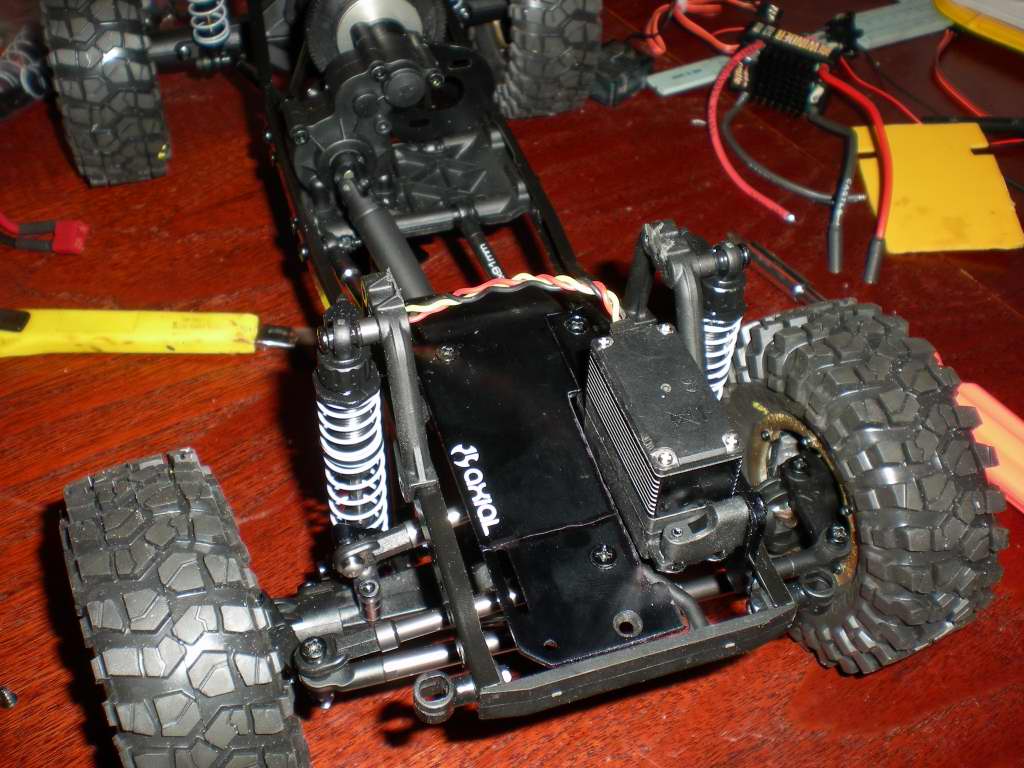
I used the battery plate for ... my battery:
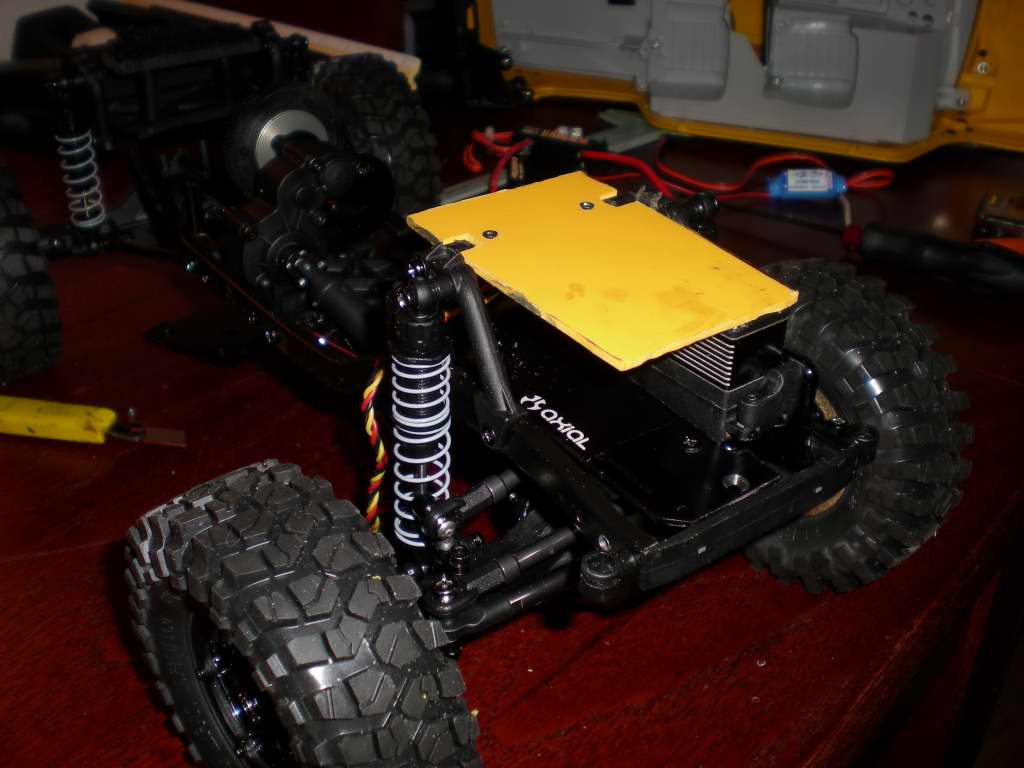
Then I cut up a Dewalt drill bit box and a length of Delrin stick to make a shelf:
September 24, 2009
Here it is coming together: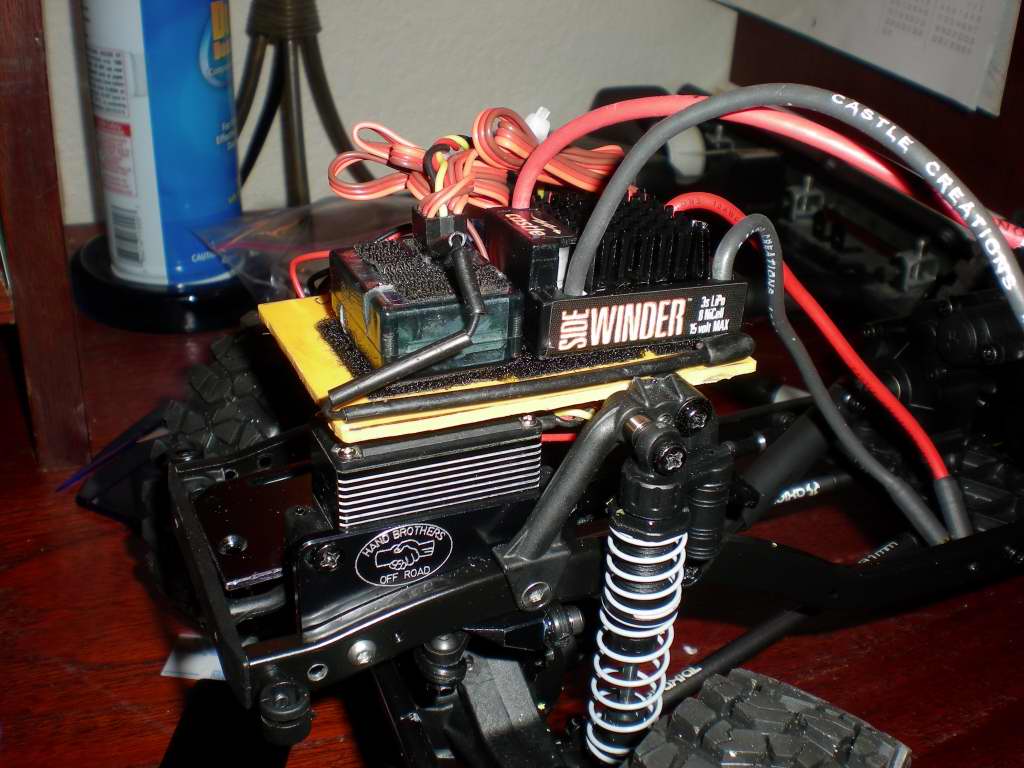
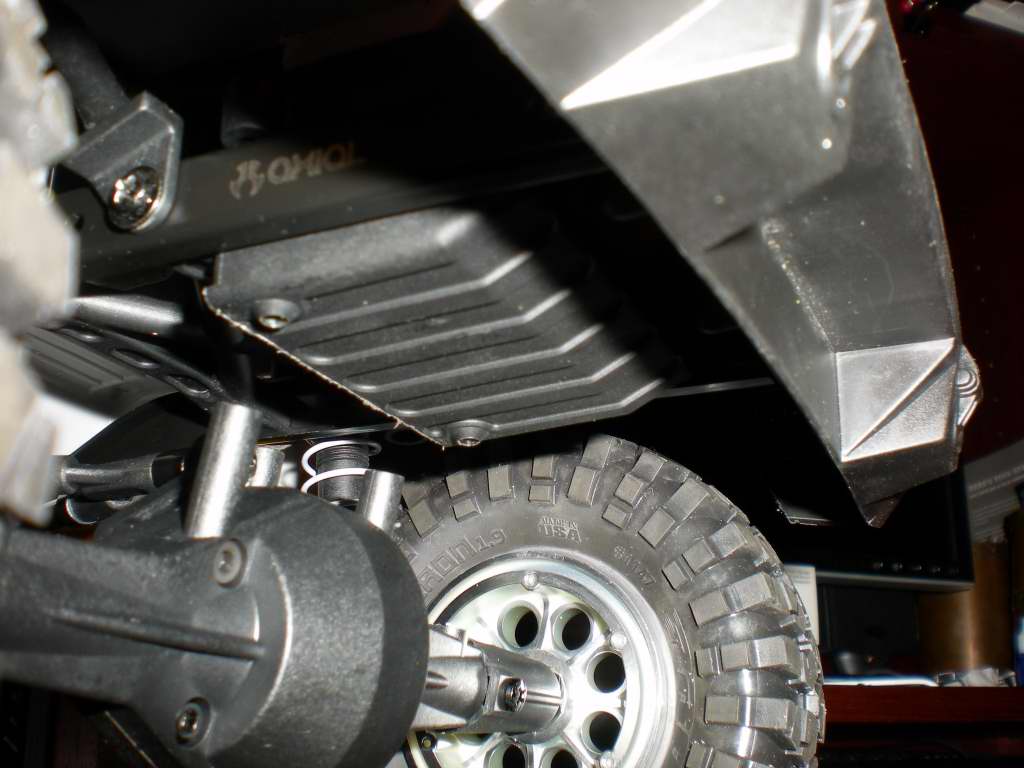
While doing the electronics shelf I decided to black out the wheel well ... or at least get started. Paper template:
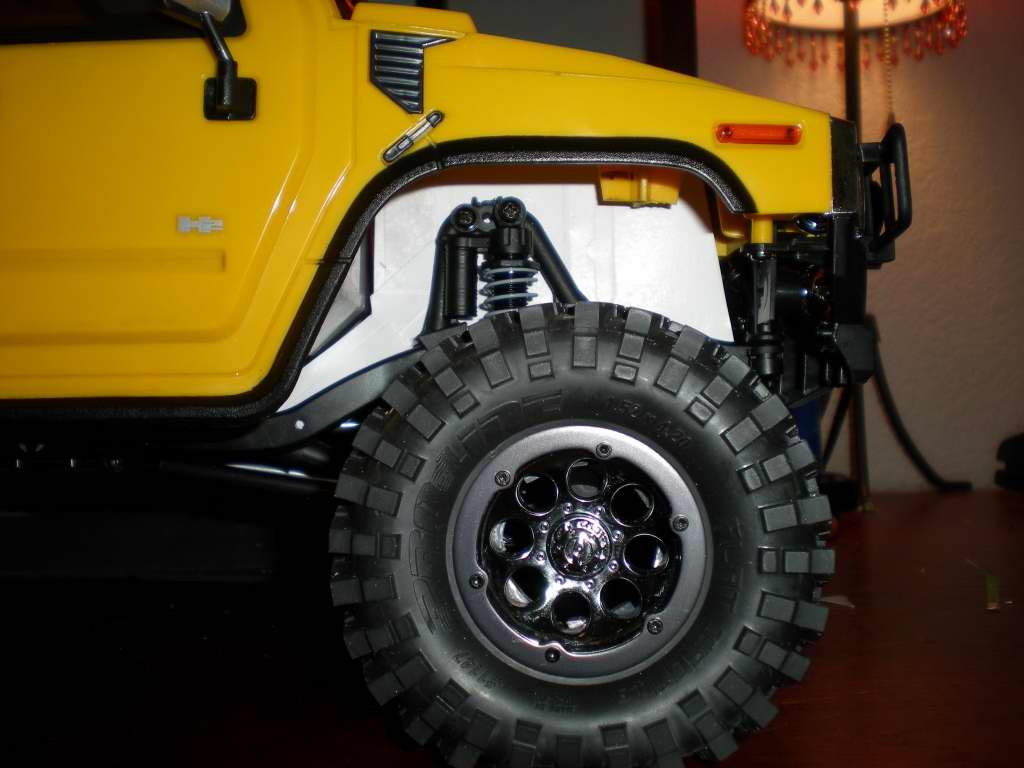
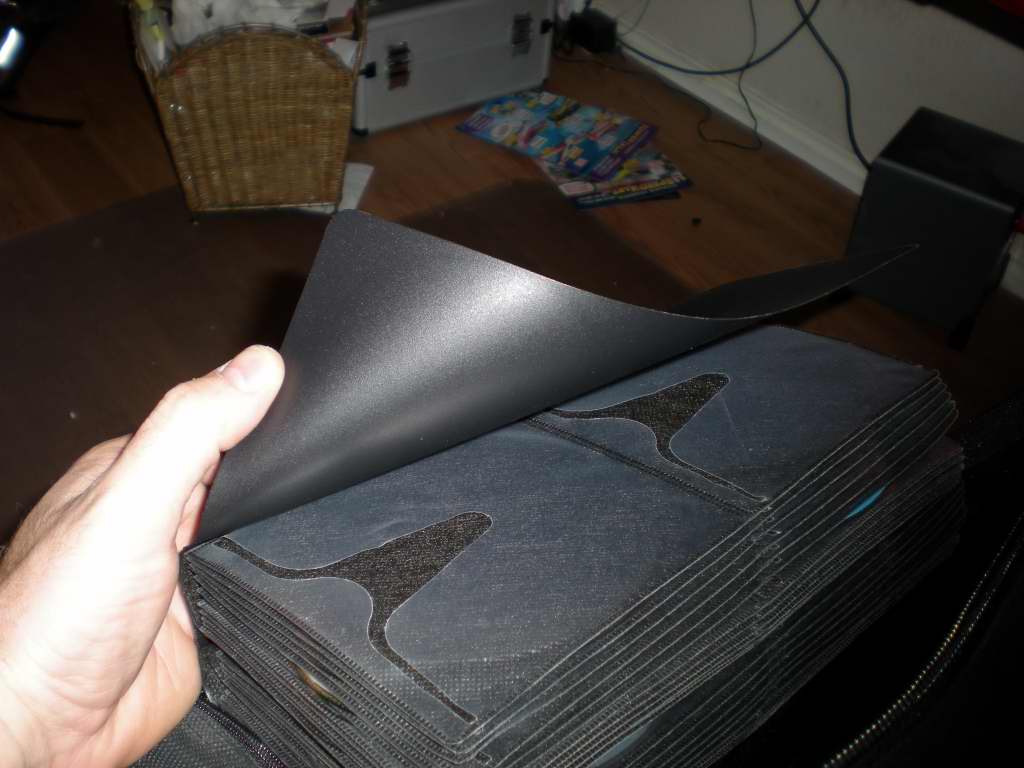
I was walking around trying to think of where I could get some thin black plastic to make the wheel well liners and I remembered I had an old CD case lying around. This is the part that slips into the outer case:
Here is a shot with the engine lined and the top of the wheel well. Additional trimming still needed:
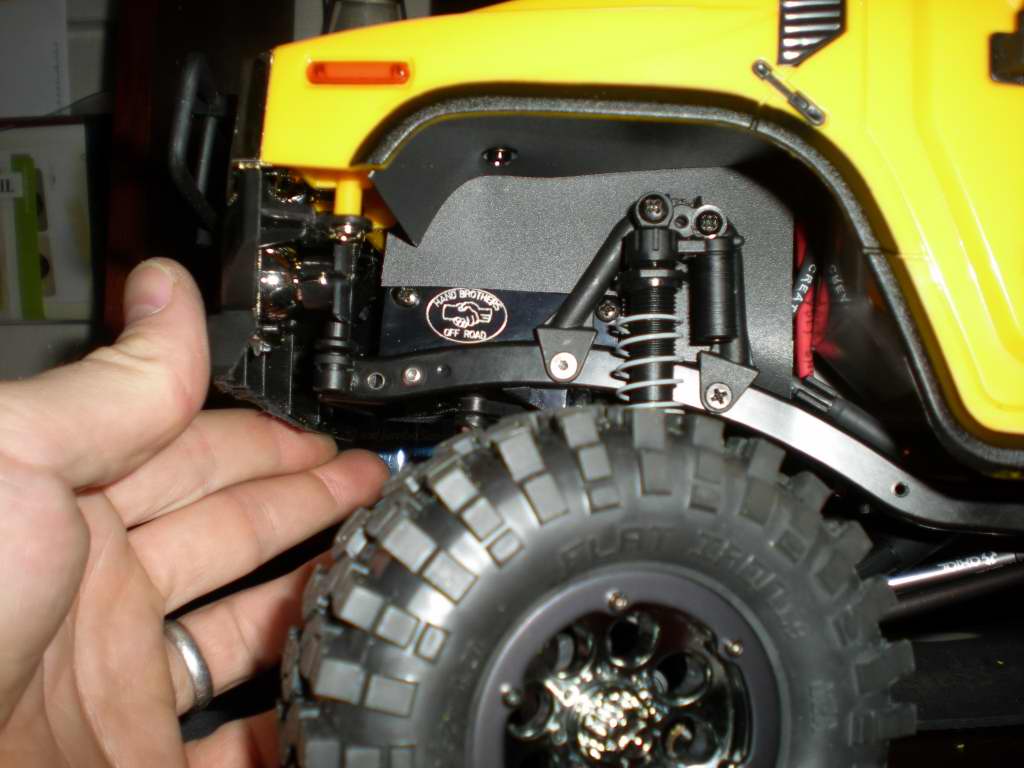
Finished shot of electronics and liners:
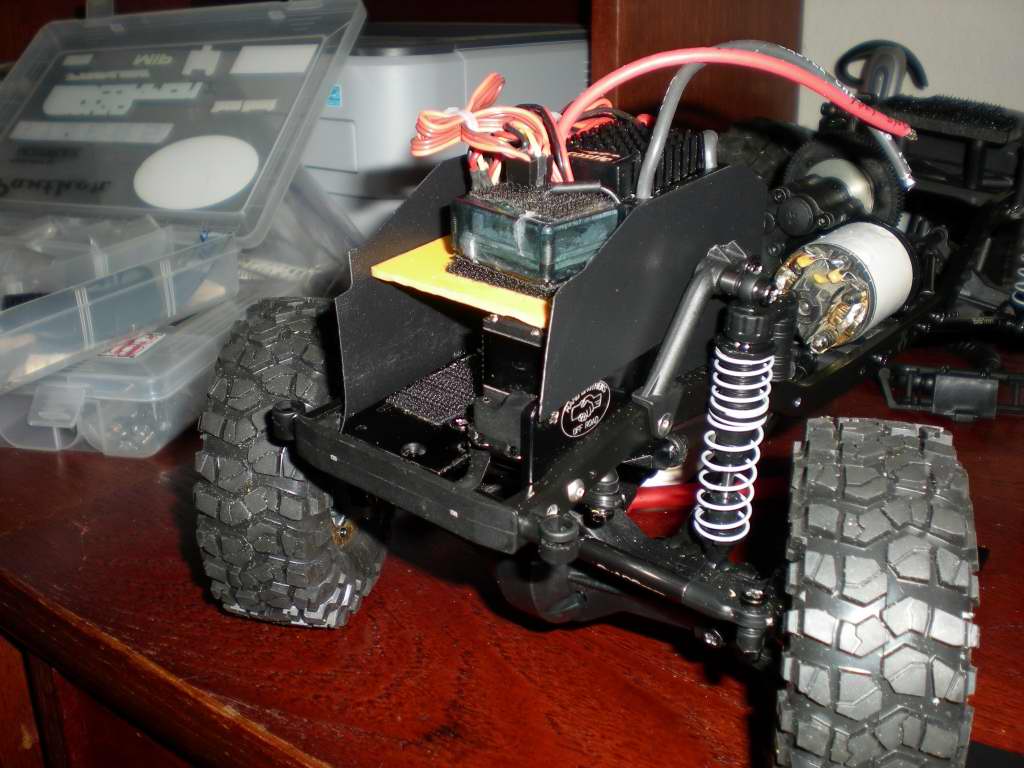
Never able to leave well enough alone ...
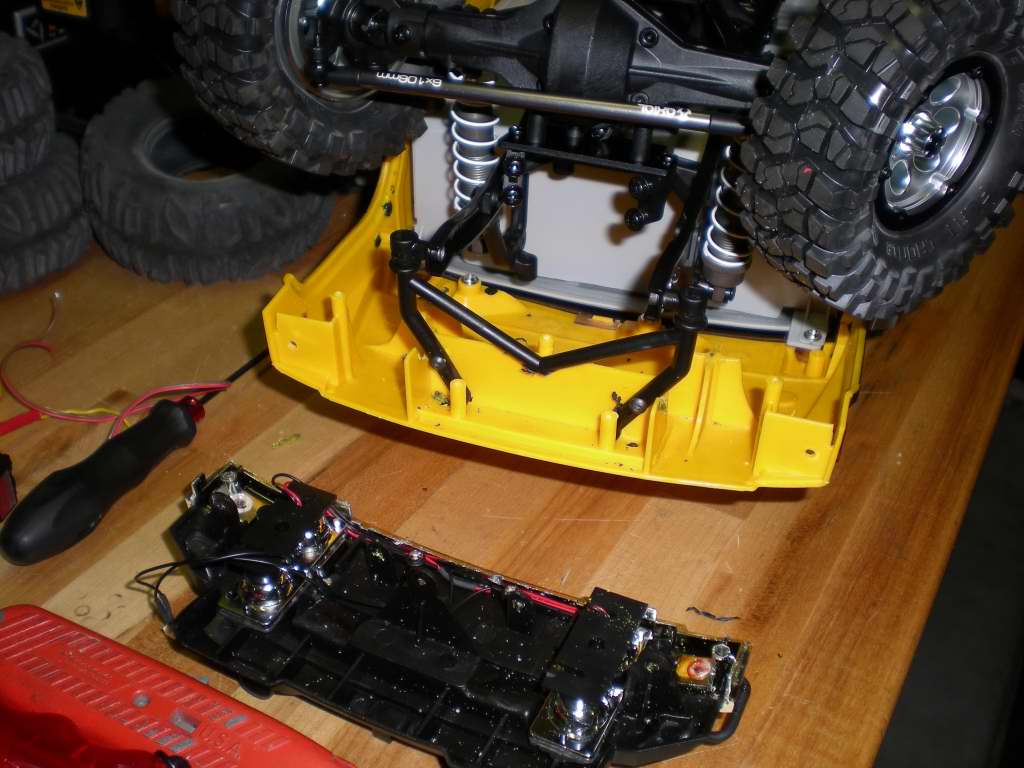
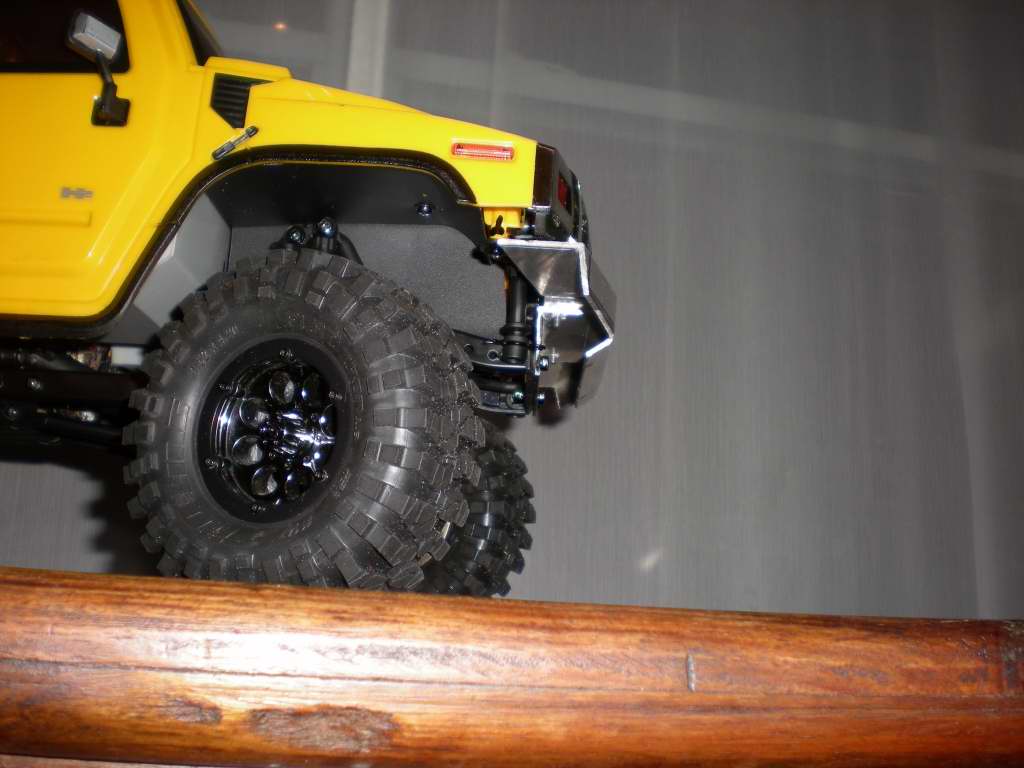
I decided it was time to address my front bumper. I didn't like the fact that the bumper is attached to the body and not the chassis. So I started cutting stuff up. I cut all the lights brackets & pieces in half saving what I needed for the upper lights only. Then I chopped the bumper in half making sure ot leave the parts to mount the headlights:
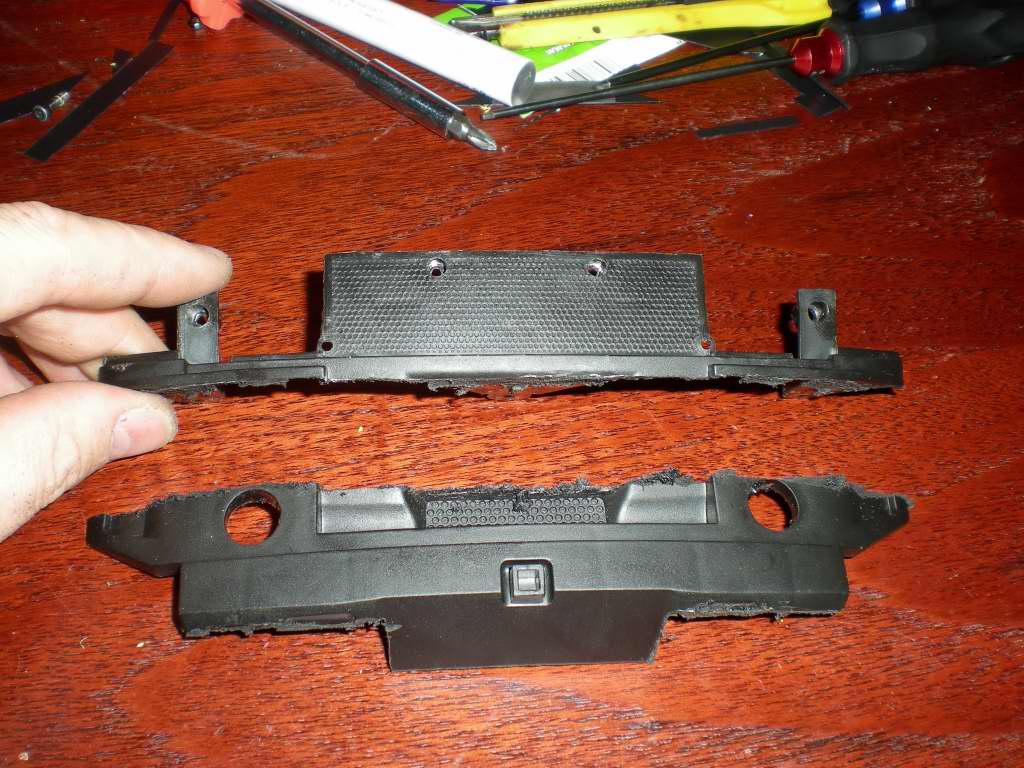
The grill attached to the body alone now with just a small piece of the lower bumper for the headlights mounts on the back:
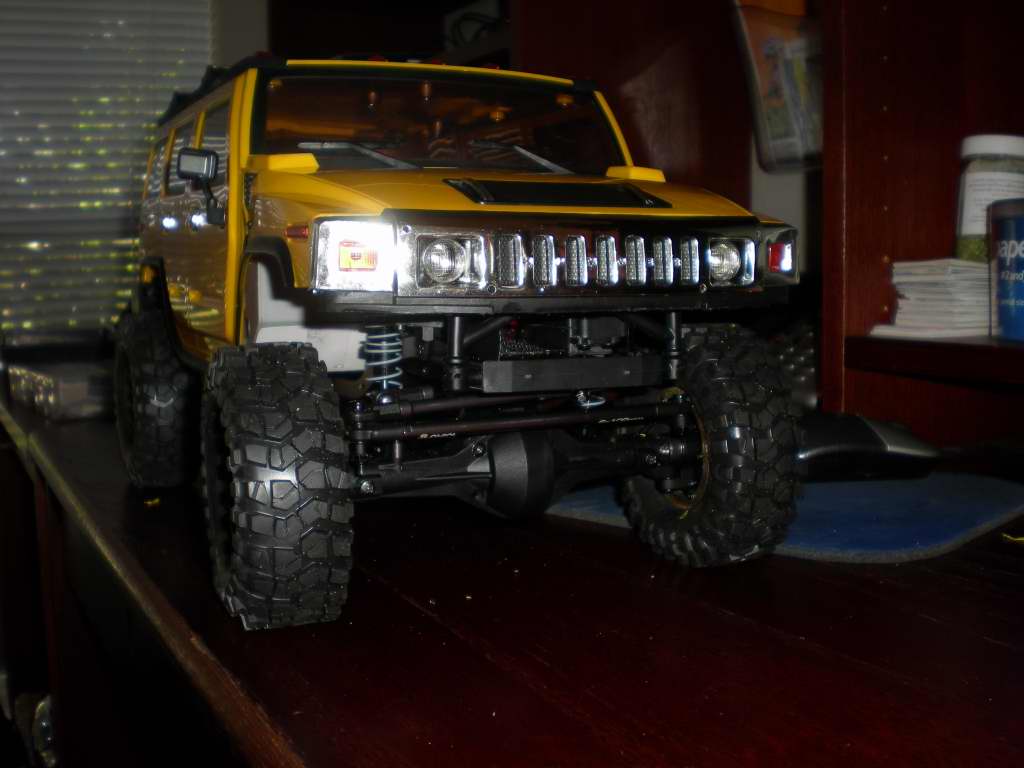
After considering reusing the stock bumper I decided to go with some angle instead:
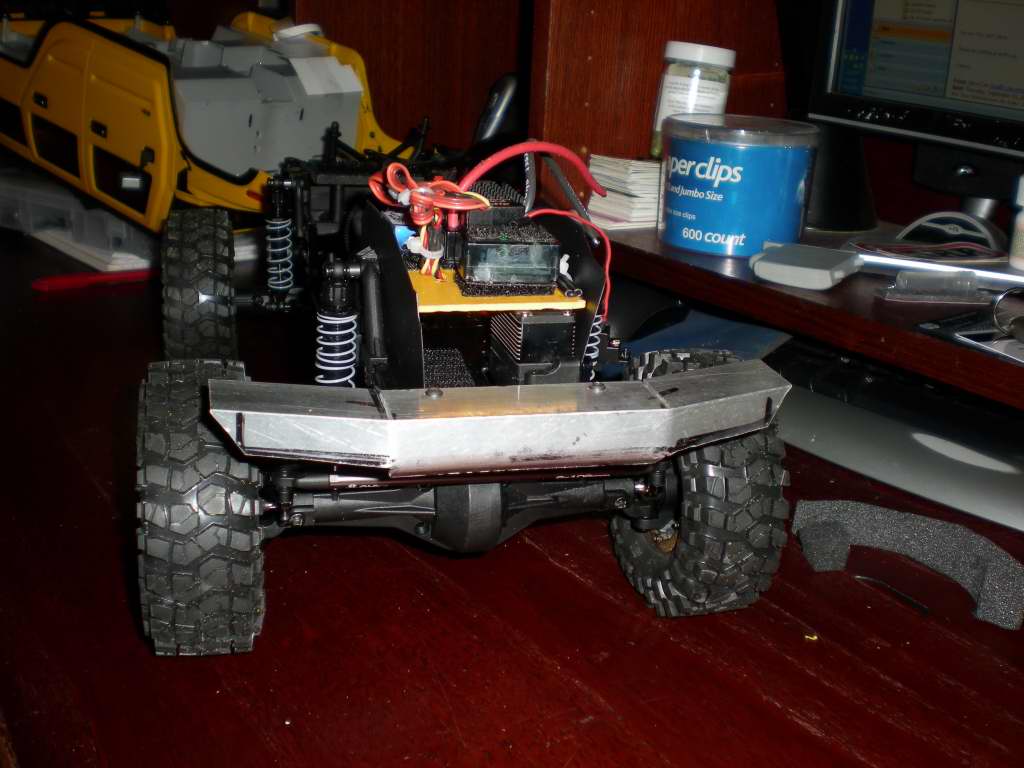
Almost done. Still need to finish trim, clean and paint it .... then do the rear:
I also think it made it cleaner underneath:
More pics of it all in this gallery:
9-15-09
September 24, 2009
More pics:9-16-09
I had decided to go ahead and mount the interior to the body and the body to the chassis .... separately. From the factory the interior mounted to the body in the front, but to the rear bumper in the back. The chassis was mounted to the body in the front but the interior in the back. Stupid setup.
To mount the interior to the body in the rear, I put in some posts. After installing these I realized I should have done several and tied them together for a cage look. Maybe I'll do that next time. The screws on top are under the luggage rack and totally hidden.
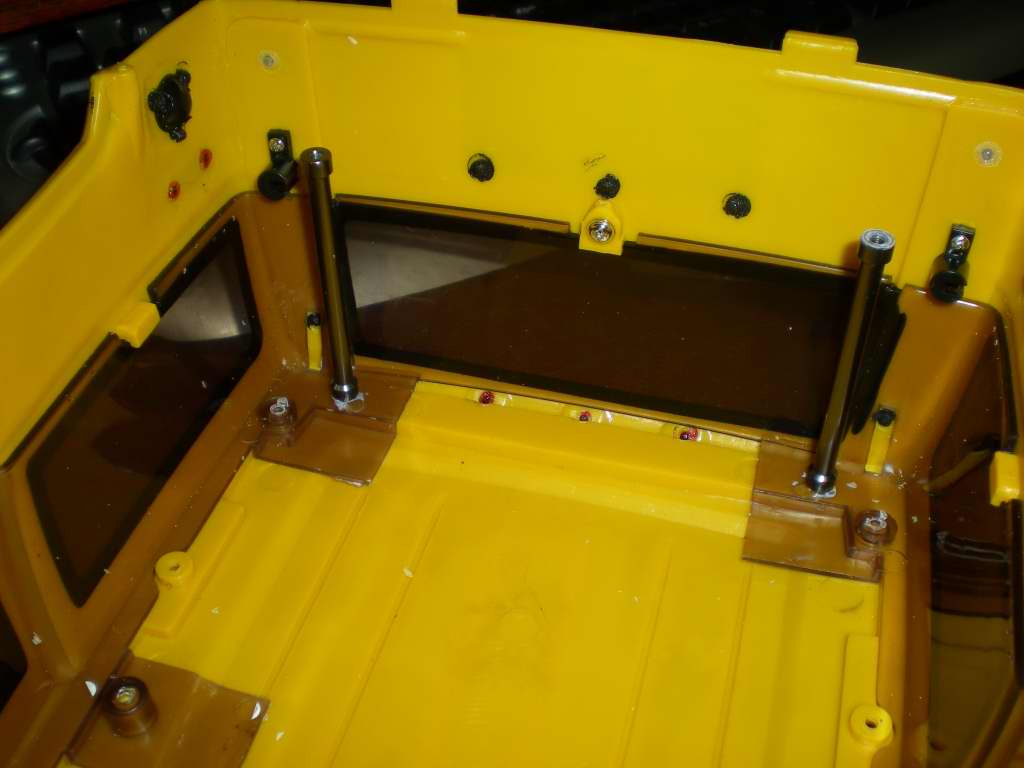
While I had it out I decided to go ahead and address the back seat. I thought back to the different times I have wheeled an SUV and recalled that any time I had a long trip I laid the back seat down to fit more cargo and spare parts. With that in mind, I decided to lay down the back seat of the H2. No fancy hinge ...
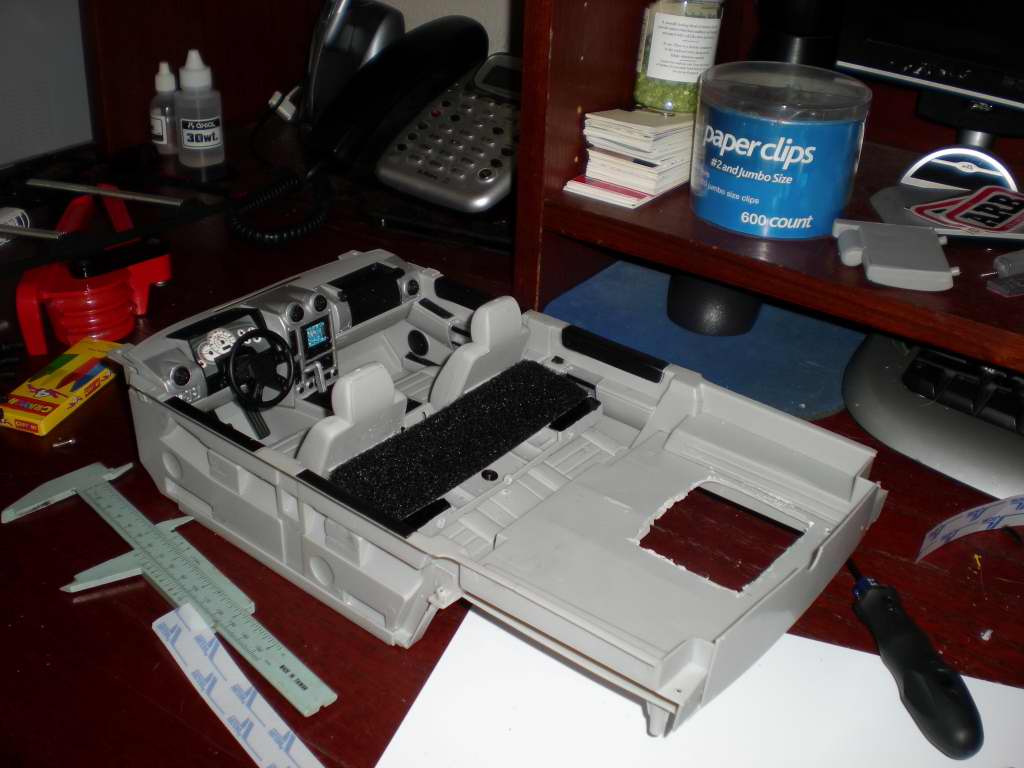
It looks like one solid piece but it's not. I remembered my Blazer having a piece that folded forward with the seat to cover the exposed area left by the seat folding forward. I've never been in an H2 but it's GM so I took a stab at it. The styrene part poking out is the flap. Most of it is covered by Velcro. the pictures make it look more like one solid piece than it does in real life.
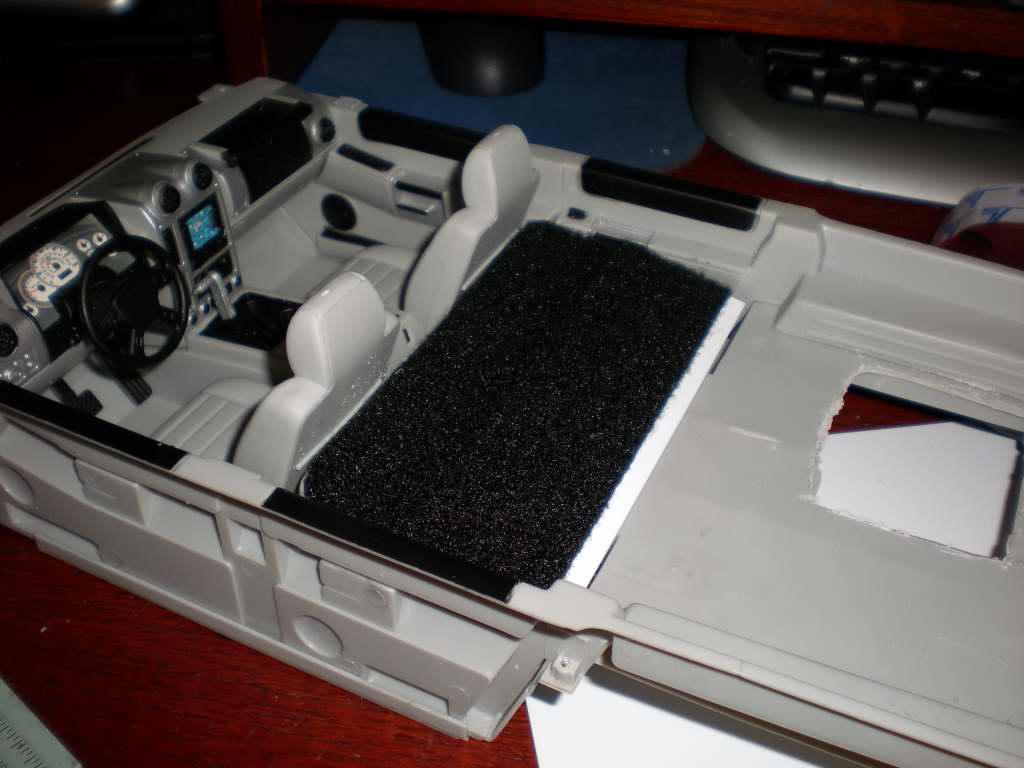
Another piece of styrene for strength and I'm all set to finish carpeting...
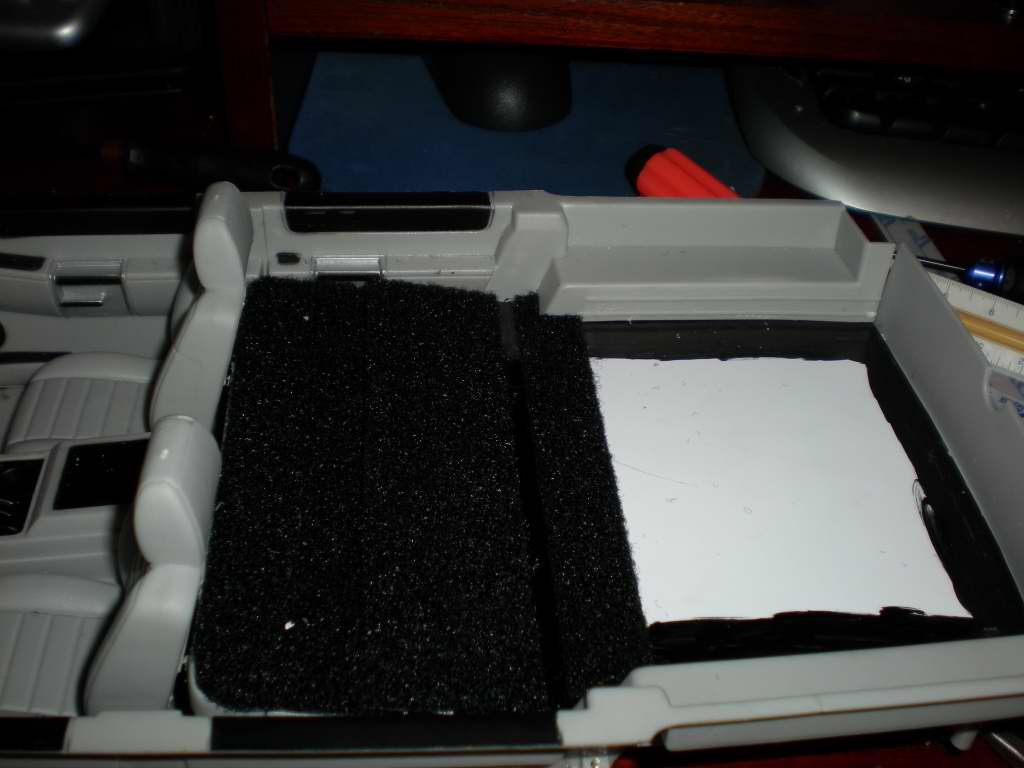
If you look carefully you can see the mounts for the posts sticking up.
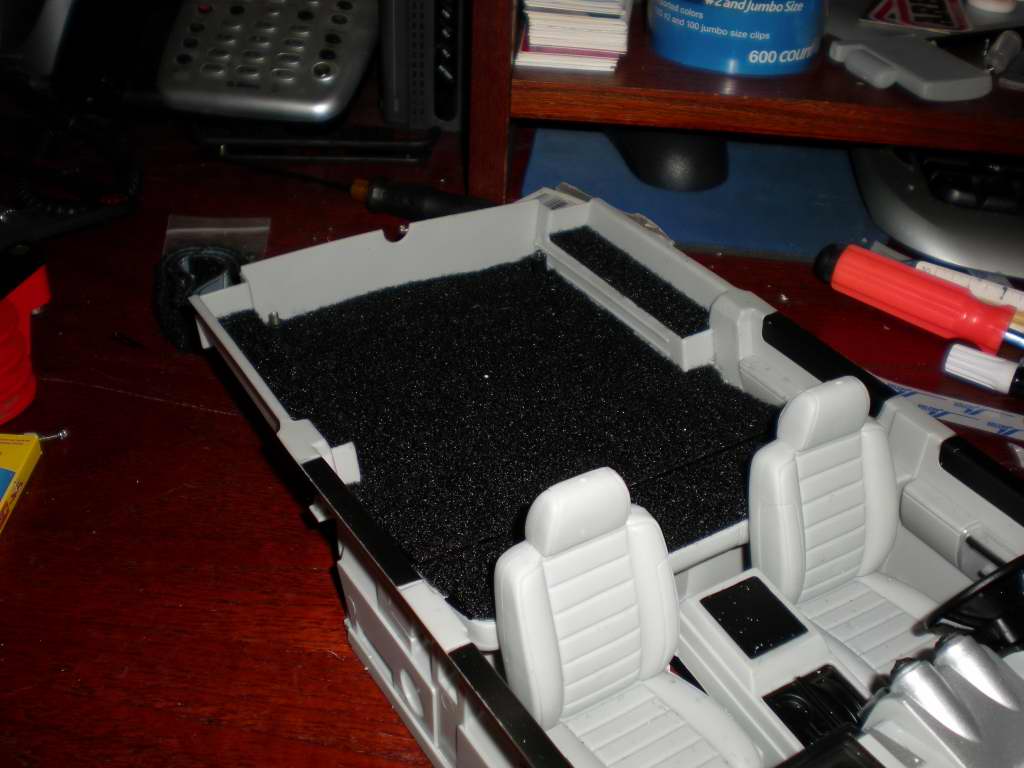
I fabbed up some body mounts like the front with some posts that come down from the interior floor board. I know, this means the chassis mounts to the interior but it's got a piece of angle that should push the force right up into the body.
With the interior mounted solidly to the body I took a step out of order and decided to address the rear wheel wells. I'll point out that having a spare body for parts, etc, is a great feeling of luxury. If I only had one body I would have just shortened the wheelbase.
So to "stretch" the rear flares out I heated up a knife and did some melting:
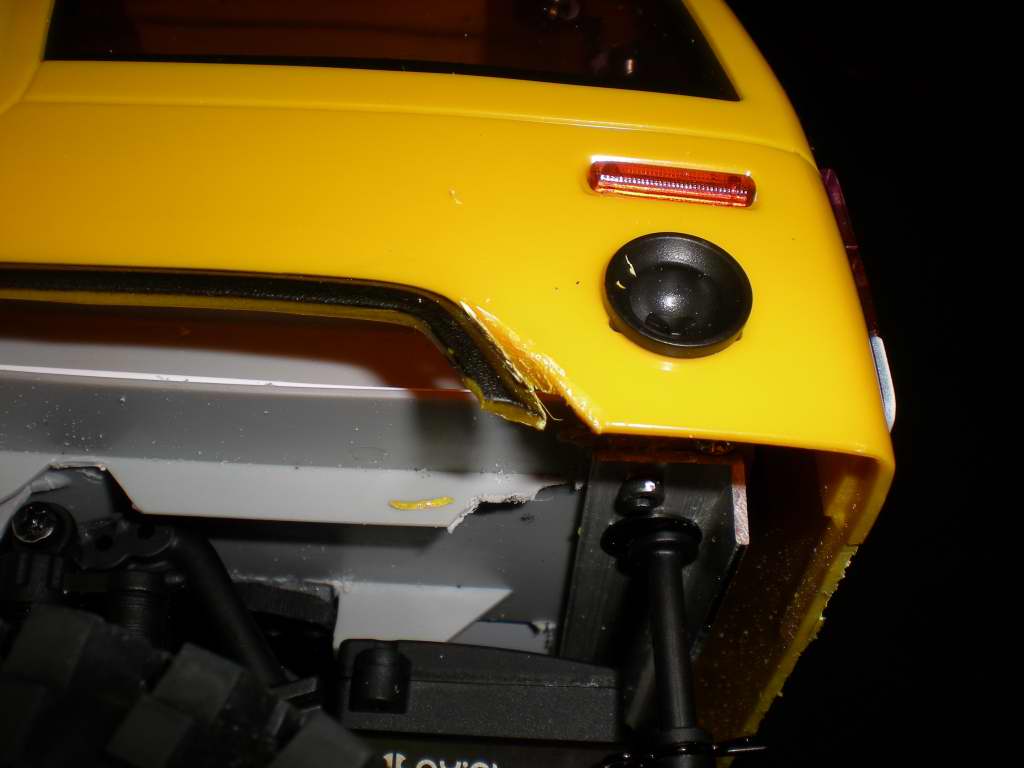
The plan at this point was to use a heat gun and bend the flare back a little to give it a better angle. It worked too ... but I left the heat on it a bit to long and bubbled the blinker and a little bit of the body on one side. I can replace the blinker but may have to sane a little on the other side. We'll see what happens. This picture shows how much the flare got moved and how much I can re-angle the rear bumper to fit the tire.
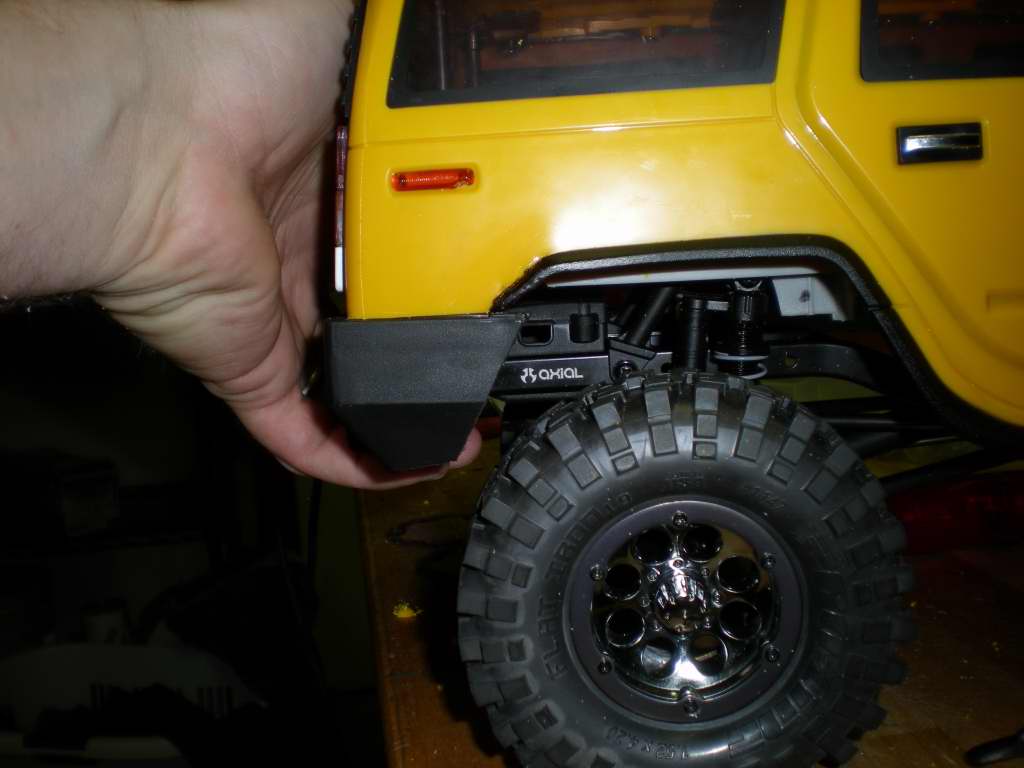
I also went ahead an made up a rear bumper to match the front. I have no idea why I didn't mount it like the front to cover the screws (late night) ... may have to redo it.
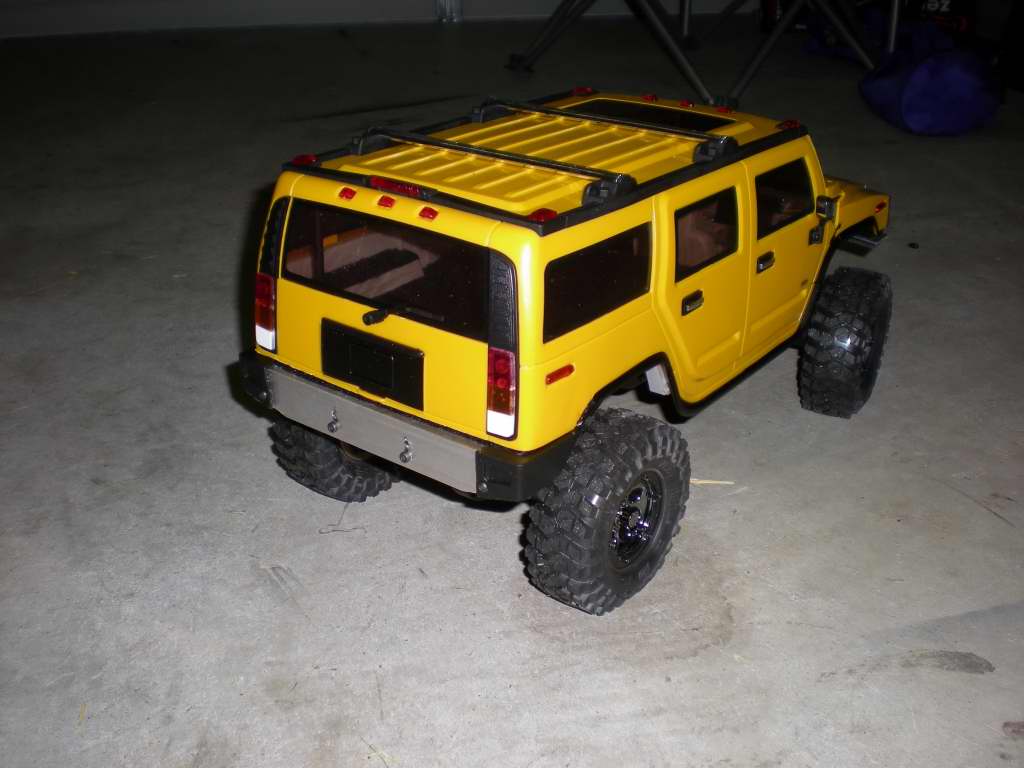
Here you can see how the stretch came out .... and another melted blinker. Must remember to remove those next time. :mrgreen:
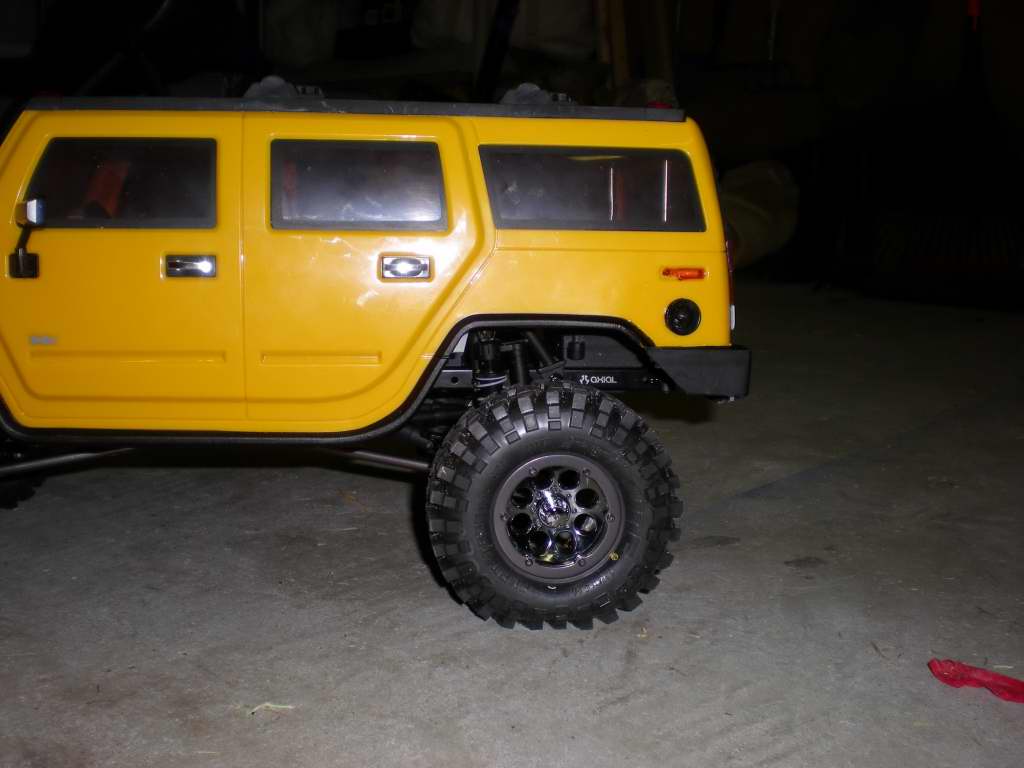
Here is how it all mounts.
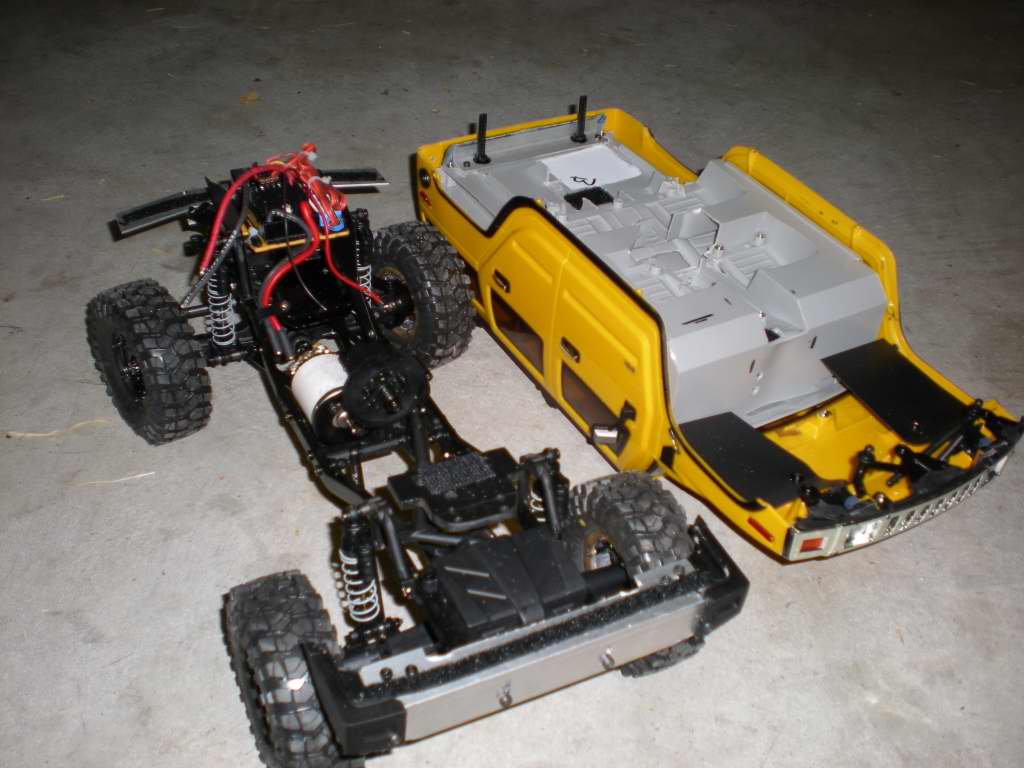
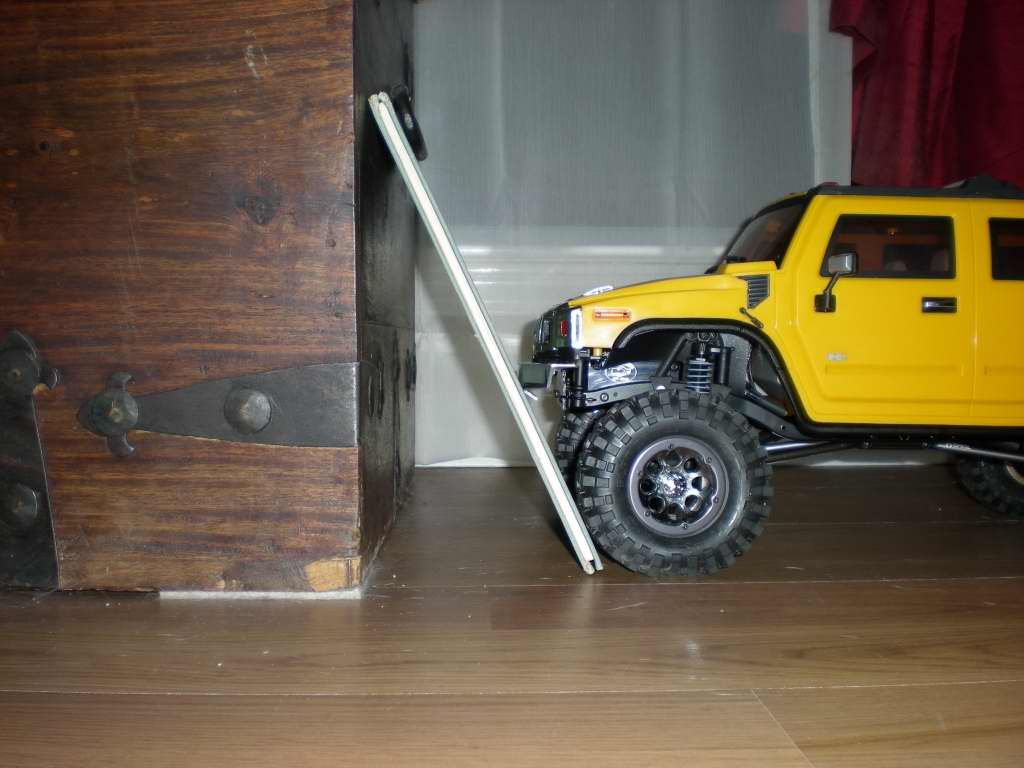
I took some flex/approach/departure shots:
9-17-09
September 24, 2009
I went ahead and finished out the wheel wells: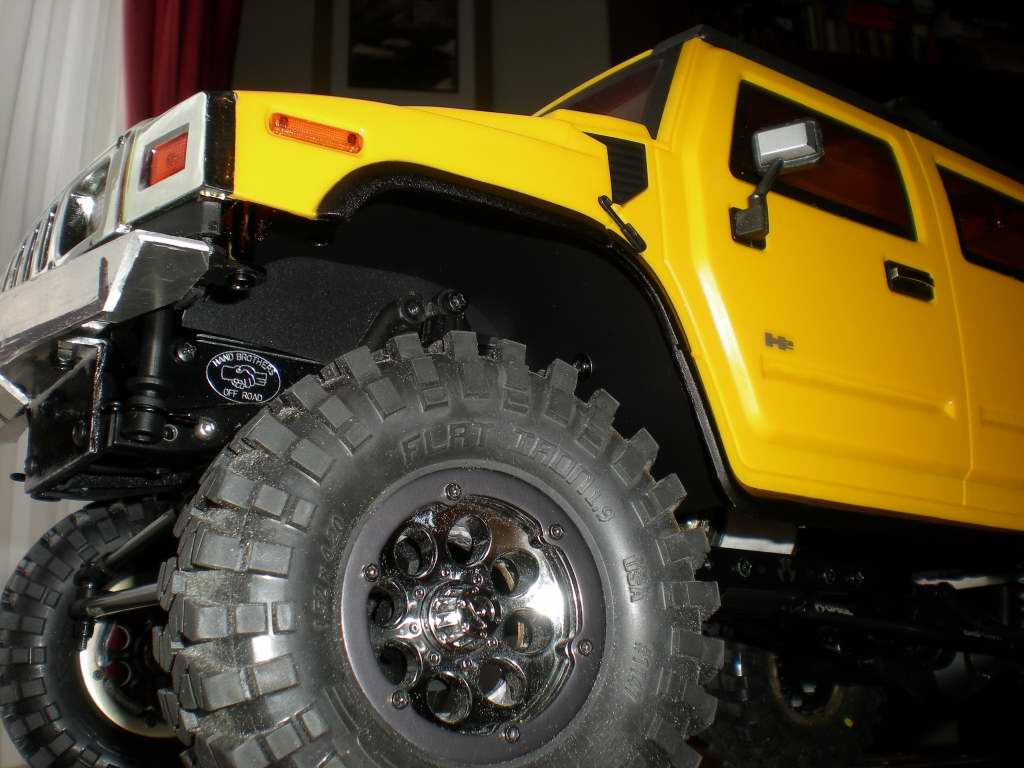
More Pics:
9-19-09
AND I added some more realistic level floorboards:
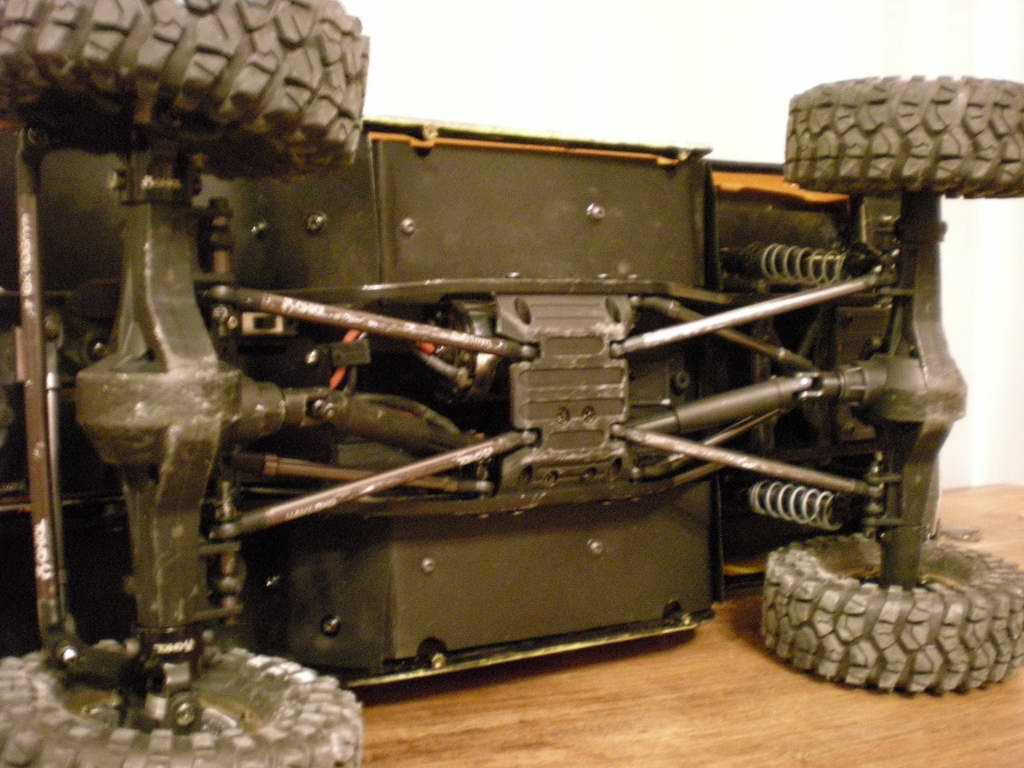
More Pics:
9-23-09
September 24, 2009
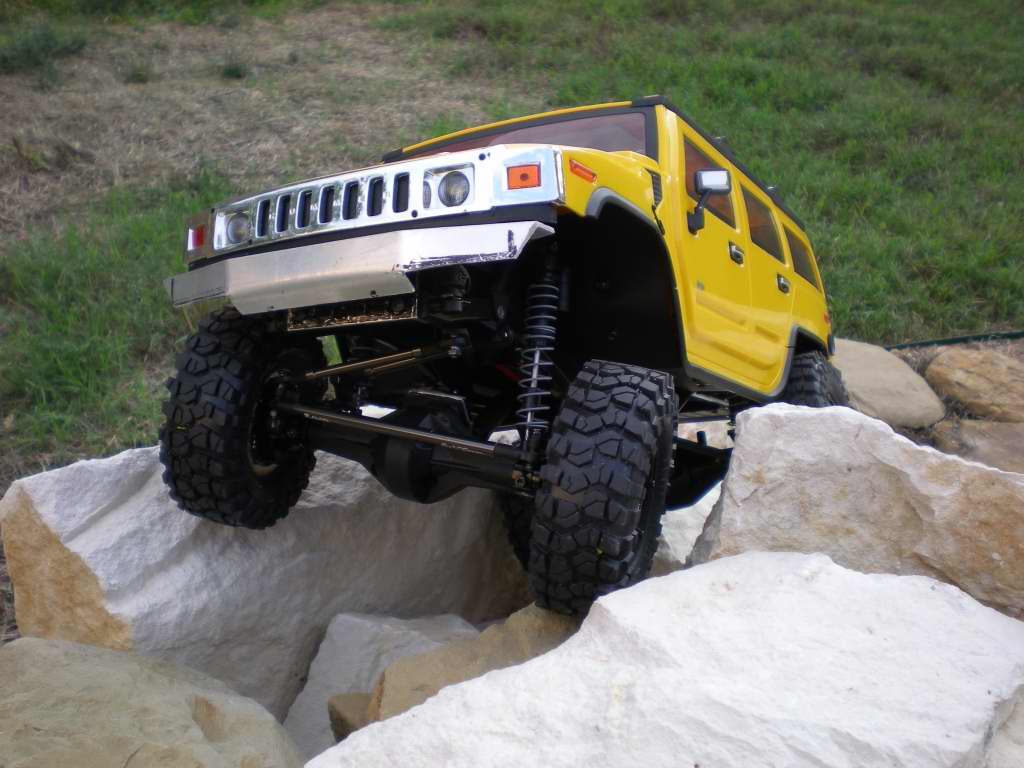
Wheeling shots from last weekend:And here are some action shots form last weekend:
More pics:
9-20-09
September 24, 2009
After the wheeling I have since bulked up the bumper and blacked out the grill. What do yall think: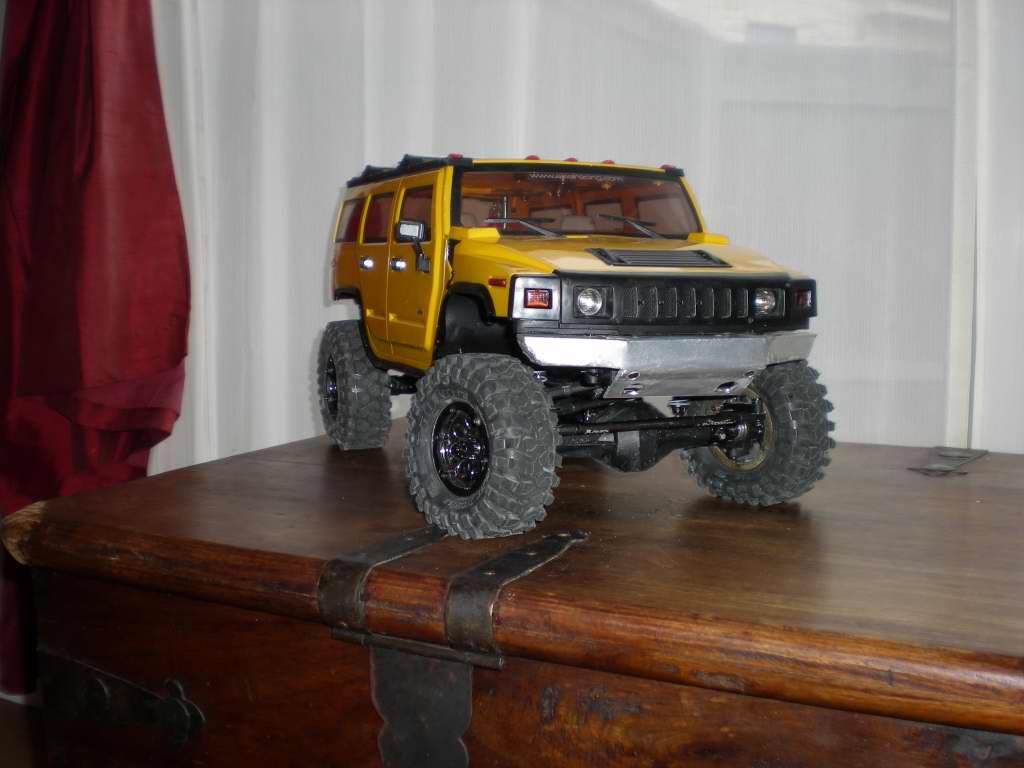
I think I like this black bumper better ... it's a rear bumper modified to fit the front.
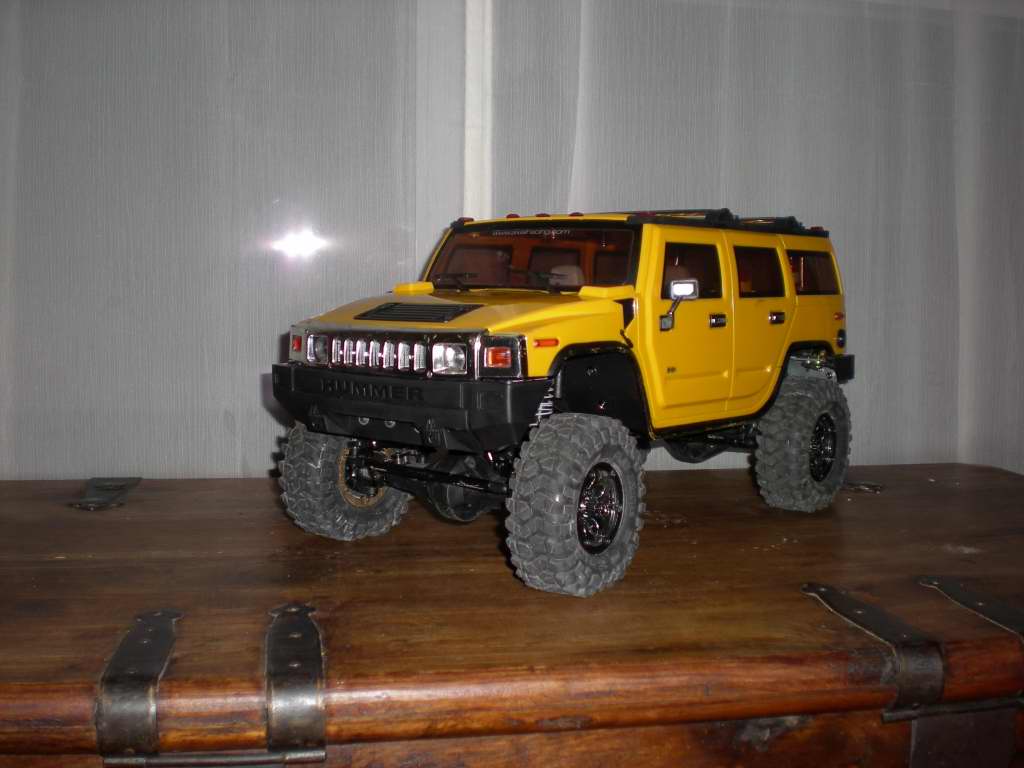
More pics:
9-24-09
I'm kinda wasting time doing this as I really am hoping to get my hands on the Axial bumpers. But I figure I may as well toss on the black bumper till then.
I liked the idea of the AL bumper but it just never looked right to me. I guess I could have filled it in and painted it but....
September 24, 2009
I decided to "waste" more time with the front bumper. So I trimmed it up a little more then decided to see if I could get my winch to fit in there.??
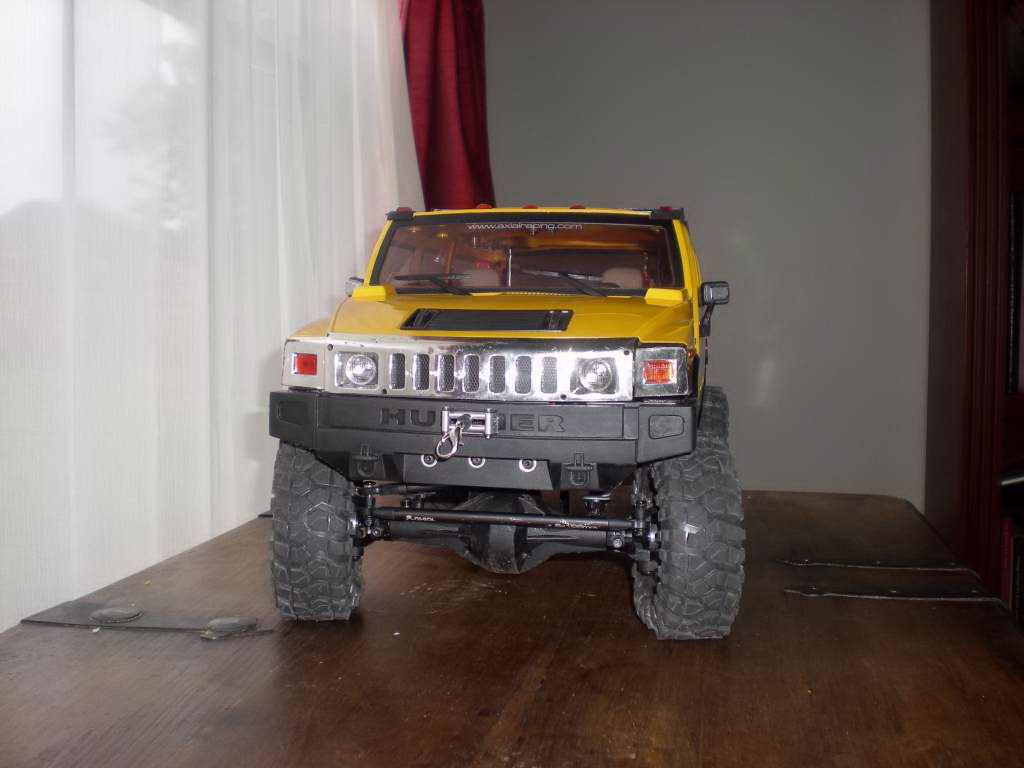
Things are tight in there but it'll work. It's laid down and I had to cut up the mounting plate. Hopefully the little roller can withstand the abuse.
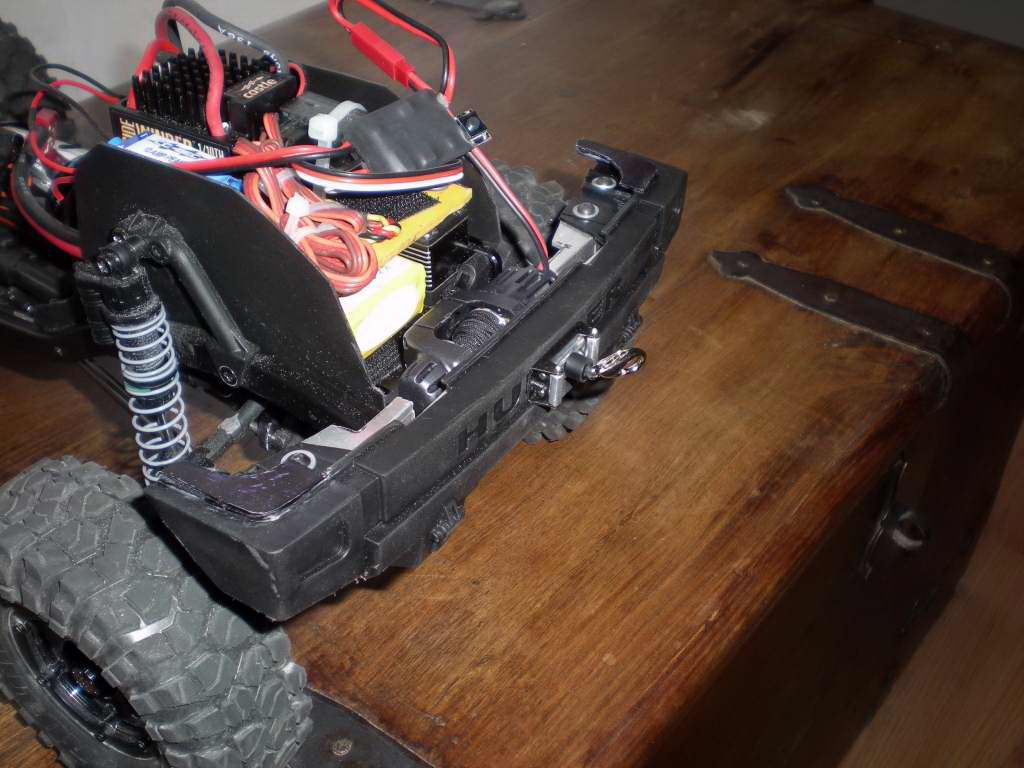
I say I'm wasting time because I ordered a few Axial front bumpers. We'll see how they work out.
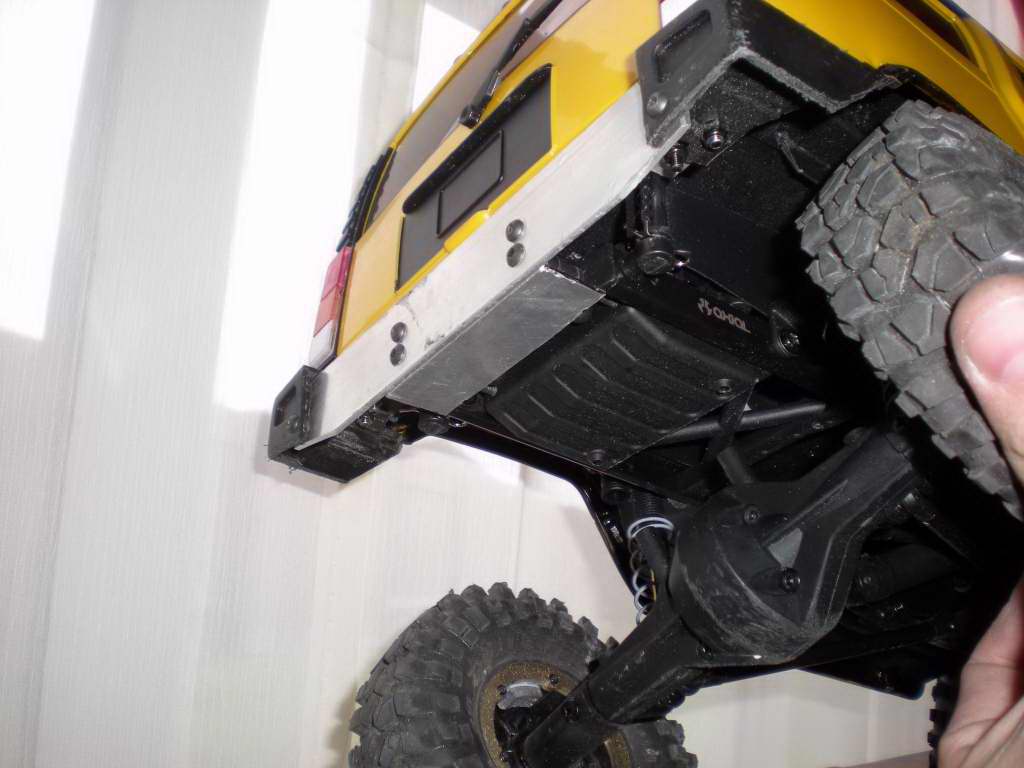
I also made a small change to the rear bumper to help it slide off of things better.
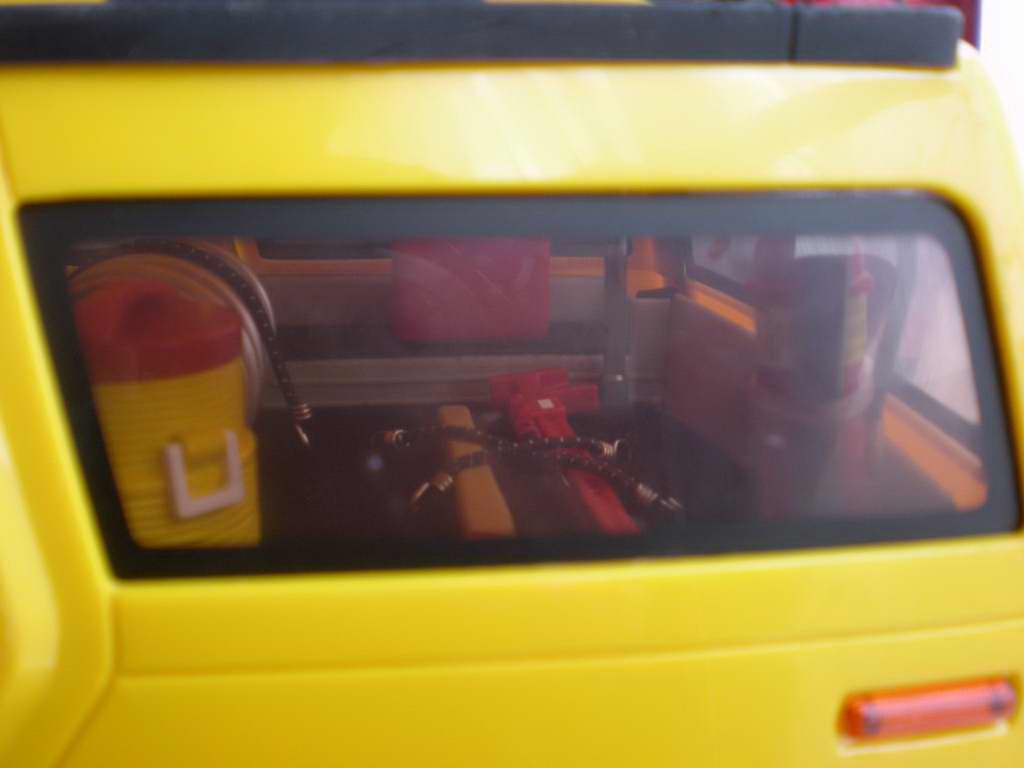
And a shot shot of the updated interior (more in gallery):
More pics:
9-24-092
Thanks for reading!
